
Every beginner asks the same question, and they ask it before they've ever held a piece of annealed silver: which hammer should I buy first? It's the right question — and almost every answer online is wrong about it, because most "best jeweller's hammer" lists are written by people who've never planished a bowl.
A bench jeweller's hammer is not the hammer you use to hang a picture. The face geometry, the head weight, the handle balance and the steel hardness are all chosen for one job: moving metal in controlled increments without leaving the wrong marks behind. Buy a DIY ball-pein from a hardware shop and use it on a silver sheet, and you will spend the next hour trying to file out the rolling marks its rough face leaves.
This guide is the answer I'd give an apprentice walking into our Hammers & Forming collection for the first time: the four hammers that will cover 95% of bench work for the first two years, what separates a serviceable hammer from a junk one, and what to skip until you actually need it.
What makes a hammer a jeweller's hammer
Three things, and the third is the one most lists miss.
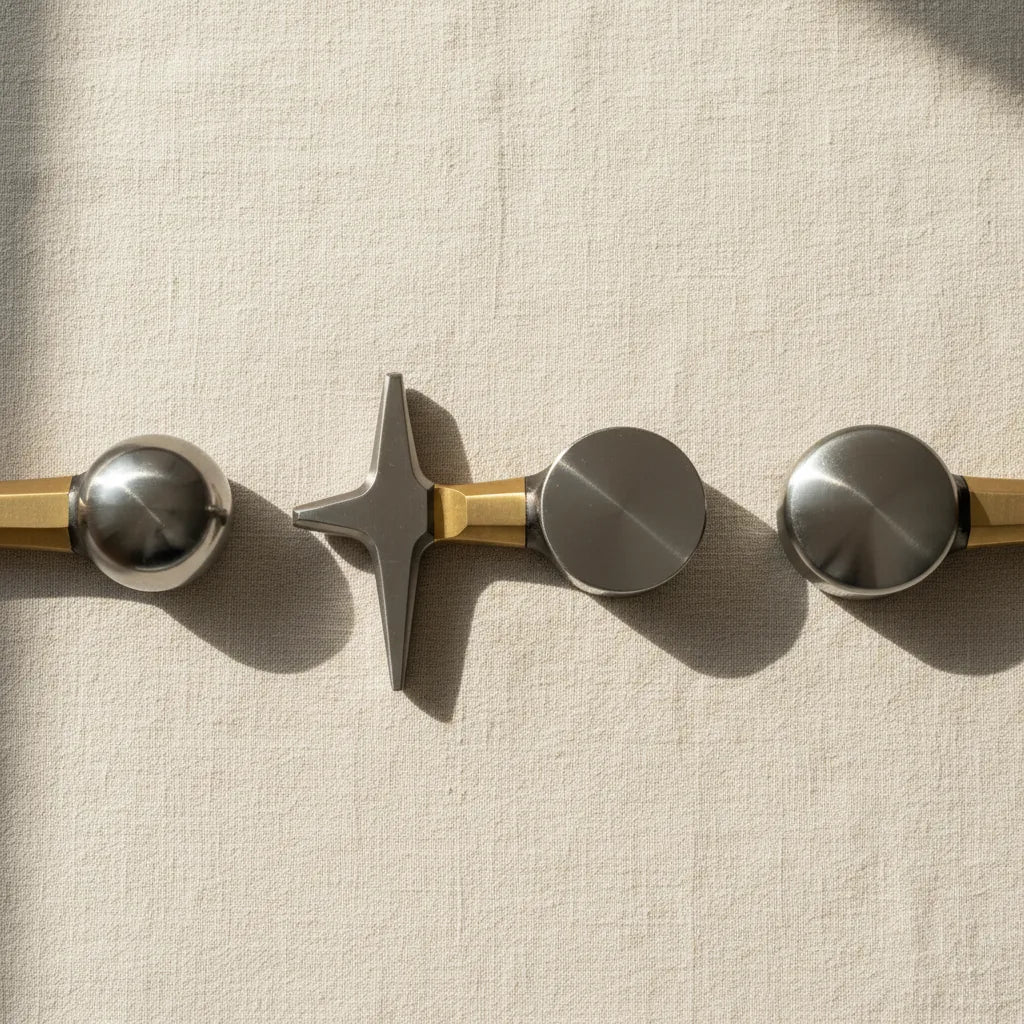
1. The face is polished, not ground. A jeweller's hammer face is mirror-polished and finely curved (or perfectly flat, depending on the type). Every micro-scratch on the face transfers onto the metal you strike, and a scratched-up face will leave marks that take twenty minutes to file and emery out per strike. Run a fingernail across the face before you buy — if you feel any roughness at all, walk away.
2. The weight is in the head, not the handle. Cheap hammers cheat with a heavier handle and a lighter head. The head is what does the work; a head-heavy hammer transfers energy into the metal at the point of impact rather than into your wrist. For benchwork you want the centre of mass forward, in the first inch of the head.
3. The handle is hickory or ash, with a swell at the heel. This is the bit beginners learn the hard way. Cheap hammers have round handles you grip the entire length of, which sends every vibration straight into your wrist tendons. A proper jeweller's hammer has a slight swell at the bottom of the handle so the hand naturally settles in front of it, leaving the handle free to flex on impact. The British Library's metalwork archive has photographs of Birmingham jewellery quarter benches from the 1920s showing exactly this handle shape — it hasn't changed in a century, because the ergonomics haven't changed.
If a hammer fails on any of these three, the £8 you saved will cost you in wrist pain, filing time, and frustration.
The four hammers I'd put on a starter bench
In this order, with the work each one actually does.
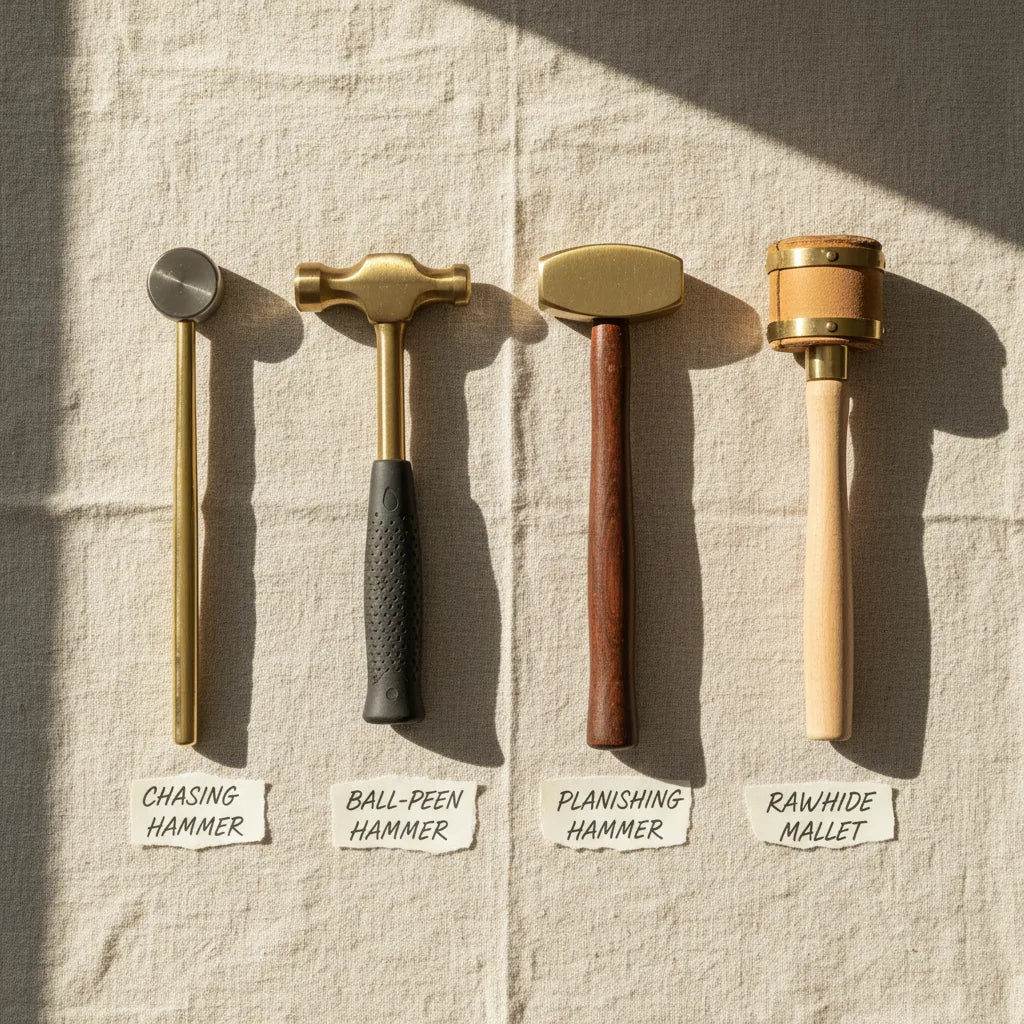
1. A 22–25mm chasing hammer (the workhorse)
The chasing hammer is the one I reach for ten times a day. Wide, slightly domed face on one end; small ball or cross-peen on the other. The wide face is for driving chasing punches and texturing through a bottoming-out punch onto annealed sheet; the ball is for raising domes and shaping wire.
Look for a 22mm or 25mm face, around 4oz to 6oz in head weight. Heavier than that and your wrist will complain by the end of the afternoon. We stock a clean version in our 22mm flat-face chasing hammer and a slightly heavier 25mm German-style bow-face if you've already got a bit of arm strength built up. Start with the 22mm.
What to test in the shop or on arrival: hold it like a hammer (not by the very end of the handle — that's a non-jeweller's grip). It should feel like the head wants to do the work. If you find yourself flicking your wrist to give it momentum, the head is too light.
2. A 6oz ball-peen hammer (the wire shaper)
A ball-peen is what you use to harden wire ends, raise a small bowl from sheet, peen rivet heads flush, and texture small areas. Two faces: a flat side for general tap-and-set work, and a ball for any time you want a controlled dome.
I'd point a beginner at the 6oz / 170g ball-peen with wooden handle — six ounces is the sweet spot for jewellery-scale work. Anything 12oz and above starts to belong to silversmiths working on hollowware, not benchwork on rings and pendants.
Bench tip from experience: the ball end will leave perfect half-sphere dimples on the soft side of an annealed silver sheet. This is exactly what you want for texture work — random ball-peen marks across a 0.8mm sheet, then planished smooth in the centre and left textured at the edges, is a starting-jeweller's classic earring pair. I taught this exact exercise in my first PGDip workshop and every student came away with sellable earrings by the end of the session.
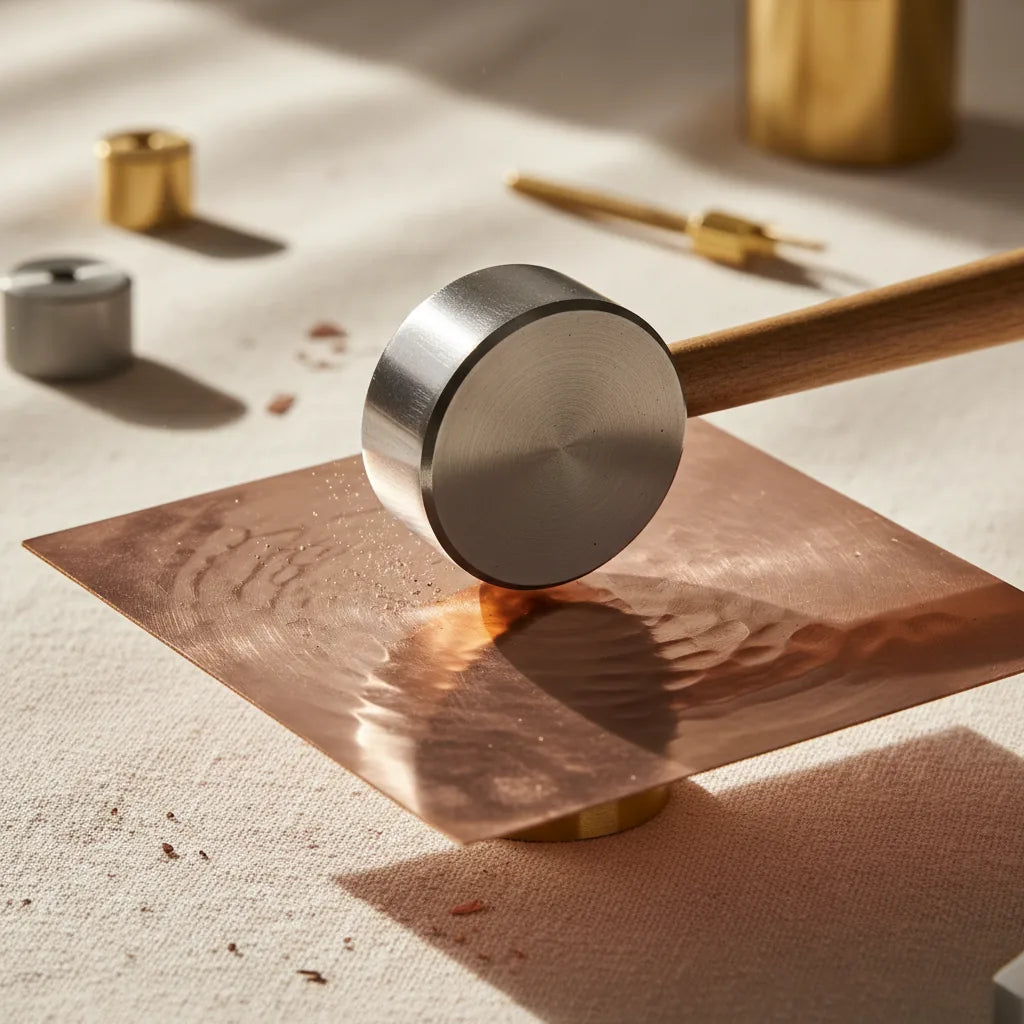
3. A planishing hammer (the finisher)
Planishing means working a curved or formed piece against a stake or anvil, hammering the high spots down to true the surface and harden the metal. The hammer you use for this has a flat face on one end and a slightly domed face on the other — both polished to mirror finish, because every mark transfers.
Two paths here, depending on what you make:
- Working in silver and copper sheet? A traditional steel planishing hammer like our 16oz steel planishing hammer is the right tool. Steel against steel anvil, with the workpiece between, work-hardens as you go.
- Doing a lot of soft-metal forming, or worried about hammer marks on an already-finished piece? A nylon-faced planisher won't mark the surface — useful for closing a ring shank without disturbing the file finish. The 9-tip nylon planishing hammer set is the one I recommend for repair work and gallery setting where the surface is already finished.
If you can only afford one, get the steel. The nylon version's job can be done (less efficiently) by a rawhide mallet for years before it limits you.
4. A rawhide or nylon mallet (the don't-mark-it)
Not a hammer, technically — but it lives in the hammer rack and you'll use it daily. A rawhide mallet is for closing a ring shank against a mandrel, for trueing a bezel without disturbing its file finish, and for any time you want force without surface marks.
Buy any well-balanced 1.5"–2" rawhide-head mallet. We don't currently have one in our collection (the dedicated forming mallets in Hammers & Forming are steel-faced); a leather-faced or nylon-faced mallet from any reputable supplier will do the job until we stock one. Don't overspend on this — they're consumable in a way the steel hammers aren't.
What to skip until you actually need it
This is where most beginner guides fall over. They list 15 hammers because they're trying to make commission on every one. Here's what not to buy in your first year:
- Texturing hammers with interchangeable faces. Lovely, fun, distracting. You haven't yet developed the eye to use textures sparingly, and bought-in textures stop looking handmade after the third piece. Get to grips with a ball-peen first, then revisit our 12-face texturing hammer in year two when you actually have a use case.
- Riveting hammers. Specialised for hidden cold-joinery; useful when you start doing complex setting work, not useful in your first 50 pieces.
- Embossing / repoussé hammers. Beautiful, traditional, and entirely the wrong starting point — repoussé is a multi-tool discipline you build into, not a beginner's purchase.
- Cross-peen-only hammers. Useful when you're forging wire into shaped sections (a watchmaker's job). Not where a bench jeweller starts.
When you outgrow the starter four, the next purchases in order are usually: a forging cross-peen for wire work, a chasing-punch-specific hammer (heavier than the general 22mm), and a texturing hammer once you've found a style you actually want to repeat.
Hammer maintenance you have to actually do
A jeweller's hammer is not a finished tool when you buy it — it's a starting point that you maintain.
Weekly (or every ten sessions, whichever comes first):
- Wipe the face with a soft cloth and a smear of light oil (3-in-1 or sewing-machine oil). Steel rusts; faces pit; pits transfer to silver. Don't skip this.
- Check the handle for any movement at the head-to-handle joint. A loose head is a flying head waiting to happen. Re-wedge or replace immediately.
Quarterly:
- Re-polish the face with 1200-grit emery paper, then 2000-grit, then a strop with green polishing compound. This takes ten minutes and means every strike for the next three months leaves a clean mark. The Birmingham Assay Office's bench-jeweller training notes (publicly available on their website) describe this exact maintenance cycle — it's the difference between an apprentice's hammer and a master's hammer.
Never:
- Strike steel against steel directly without a workpiece between. The faces of two hammers meeting will mar both. Hammers strike workpieces, full stop.
Frequently asked
What weight jeweller's hammer should a beginner buy?
For benchwork on rings, pendants, earrings and small forms, 4–6oz (110–170g) on the chasing hammer, 6oz on the ball-peen, 12–16oz on the planishing hammer. Heavier than 16oz and you're into silversmithing-scale work.
Can I use a DIY hammer from B&Q?
Briefly, for fitting a bench leg. Not for hitting metal you intend to keep. The face will be too rough, the weight balance wrong, and the steel hardness inconsistent — all of which transfer to the work.
What's the difference between a chasing hammer and a planishing hammer?
A chasing hammer drives punches and shapes wire — its faces are slightly domed and it's typically lighter (4–6oz). A planishing hammer trues and hardens a formed piece against an anvil — its faces are mirror-polished and one is dead flat. They are not interchangeable.
Do I need a steel hammer if I already have a rawhide mallet?
Yes. A mallet moves metal without marking it, but it can't harden, can't drive punches, and can't planish. The two tools do different jobs.
How long should a quality jeweller's hammer last?
Decades. Replace the handle every 5–10 years depending on use; the head itself, with quarterly face maintenance, outlasts the maker.
Where to go next
Start with the chasing hammer and the 6oz ball-peen. Those two will cover everything you do in your first month at the bench, and they're the foundation everything else gets bought around. Browse the full Hammers & Forming collection when you're ready to add the planisher.
The next post in this series, How to anneal and forge silver at the bench, shows you what to actually do with these hammers once you have them in hand.
— K.