

There comes a point in every jeweller's journey when sawing out a perfect circle becomes a chore. You can get close with a 2/0 blade and a steady hand, but true, repeatable precision is another matter. For anyone making coin pendants, circular settings, or any design based on perfect discs, a quality disc cutter is not a luxury; it’s a fundamental upgrade to your workshop. This tool is the fastest, most accurate way to produce blanks from sheet metal. Getting a clean, sharp circle every time is what a good disc cutter jewellery tool offers, saving you hours at the bench and delivering a more professional result.
This isn't just about speed. It's about consistency. If you need to make ten 18mm silver discs for a batch of earrings, a disc cutter ensures every single one is identical. No filing to the line, no slight ovals, just perfect blanks ready for the next stage. But not all cutters are created equal. In this guide, I’ll walk you through what to look for in a set, how to use it properly without damaging the tool or your metal, and how to keep it in service for years to come. This is bench-tested advice from my own workshop here in Birmingham.
What is a Disc Cutter and How Does it Work?
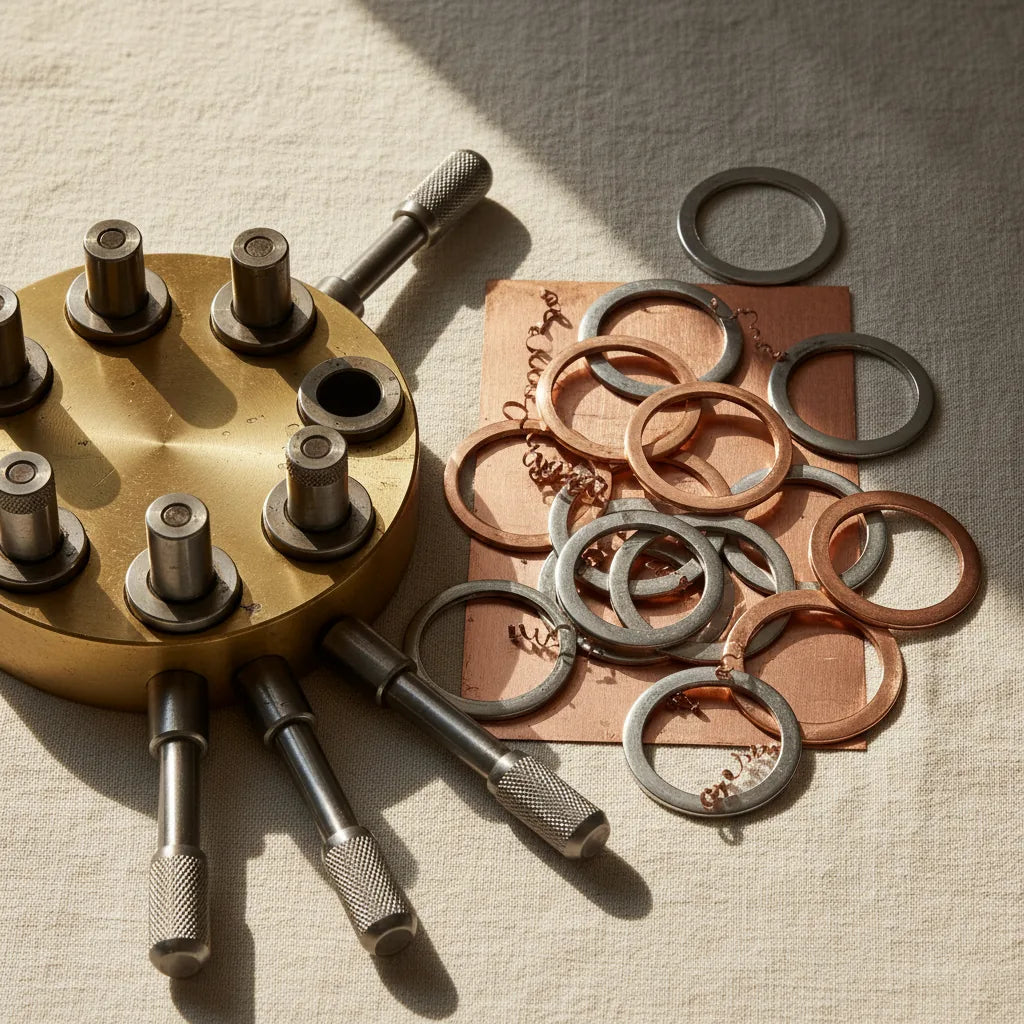
At its heart, a disc cutter is a simple and robust piece of engineering. It consists of two main parts: a hardened steel block (the die) with precisely machined holes, and a set of corresponding hardened steel rods (the punches). You sandwich your sheet metal between the two halves of the die block (or simply lay it on top, depending on the design), insert the correct punch into the matching hole, and strike the punch with a heavy mallet.
The magic is in the shearing action. The punch doesn't 'punch' through the metal in the way you might think. Instead, the incredibly tight tolerance between the outer diameter of the punch and the inner diameter of the die hole creates a high-pressure shear point. As the punch is driven into the die, it shears the metal cleanly, leaving you with a perfect disc inside the die block and a sheet with a perfect hole left over.
This is why the quality of the steel and the precision of the machining are paramount. A cheap, poorly made jewellery disc punch will have sloppy tolerances, resulting in a burred, distorted disc that needs extensive cleaning up—defeating the whole purpose of the tool. It's one of the indispensable pieces of kit I recommend in my list of 12 tools every new silversmith needs.
Choosing Your First Disc Cutter Set
Walking into a supplier in Hatton Garden or browsing Cooksongold online, the options can be overwhelming. Prices for a disc cutter set can range from under £50 to well over £500. The differences aren't just cosmetic; they relate to the steel quality, precision, and features. Here’s what you need to focus on.
Round vs. Shaped Cutters
The vast majority of jewellers should start with a standard round disc cutter. It is the workhorse of the workshop. A good set will typically offer a range of sizes from around 3mm up to 25mm or 32mm, which covers most common applications for pendants, charms, and backplates for settings.
Shaped cutters—which come in ovals, squares, hearts, teardrops, and other decorative forms—are more specialised. They are incredibly useful if your work revolves around a specific motif, but they lack the versatility of a round set. My advice is to invest in the best quality round circle cutter jewellery set you can afford first. You can always add a specific shaped cutter later if a design calls for it.
Steel Hardness (HRC) Matters
This is perhaps the most critical factor determining a disc cutter's performance and longevity. The hardness of the steel is measured on the Rockwell C scale (HRC). For cutting non-ferrous metals like sterling silver, copper, and brass, you need a tool with a hardness rating between HRC 58 and HRC 62.
A cutter with a rating below HRC 58 will have cutting edges that dull, chip, or deform under the pressure of repeated use. It’s a false economy, as you’ll be left with a tool that produces messy cuts. Conversely, steel that is significantly harder (e.g., HRC 65+) can become brittle and may be more prone to fracturing under a heavy hammer blow. The 58-62 range is the sweet spot for toughness and edge retention. When you see a quality metal disc cutter UK jewellers trust, it's almost certainly made from high-carbon tool steel hardened to this specific range. Think of the reputation of Sheffield steel—it’s that level of industrial quality you're looking for.
What Metal Gauge Can You Cut?
Every disc cutter has its limits. The vast majority of standard bench sets are designed to cut soft, non-ferrous metals up to a maximum thickness of 1.0mm (18 gauge). Some heavy-duty models might manage 1.2mm (16 gauge), but you should always check the manufacturer's specification.
Never, ever attempt to cut steel sheet or metal thicker than the tool is rated for. You will, at best, get the punch hopelessly stuck. More likely, you will chip the cutting edge on both the punch and the die, permanently damaging a very expensive tool. The force required to shear metal increases dramatically with thickness, and standard hand-struck cutters are simply not built for that kind of work. Always anneal your sheet before cutting to make the process as easy as possible for both you and the tool.
Centring vs. Standard Sets
A standard disc cutter requires you to position your metal by eye. For cutting a simple disc from a large piece of sheet, this is perfectly adequate. However, if you want to cut a washer (a disc with a hole in it) or perfectly centre a pattern on your disc, you'll find yourself frustrated.
This is where centring disc cutters come in. The most well-known is the Swanstrom, which uses a clever system of spring-loaded dies and alignment guides to hold everything in place. You can cut a hole, then use a corresponding guide to cut a larger disc perfectly centred around that hole. They are a significant investment, but for makers who produce a lot of washers or need dead-on accuracy, they are worth every penny. For a beginner, a standard set is more than sufficient.
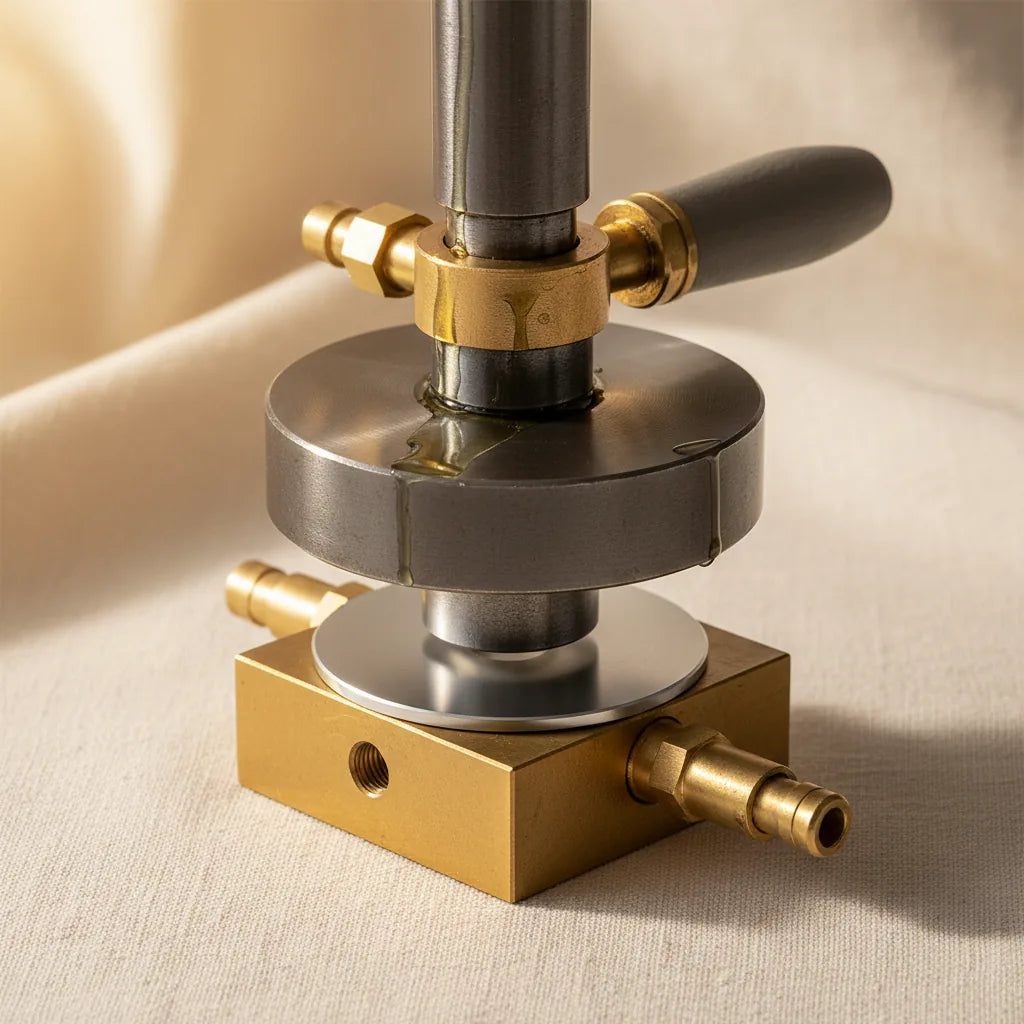
Setting Up and Using Your Disc Cutter Correctly
A disc cutter is a precision instrument. Using it correctly not only gives you better results but also protects your investment.
The Foundation: Your Bench Block
Never use a disc cutter directly on a steel bench block or the surface of your anvil. The rebound will be fierce, potentially causing a double-strike that mars your cut, and you risk damaging the hardened steel of the cutter.
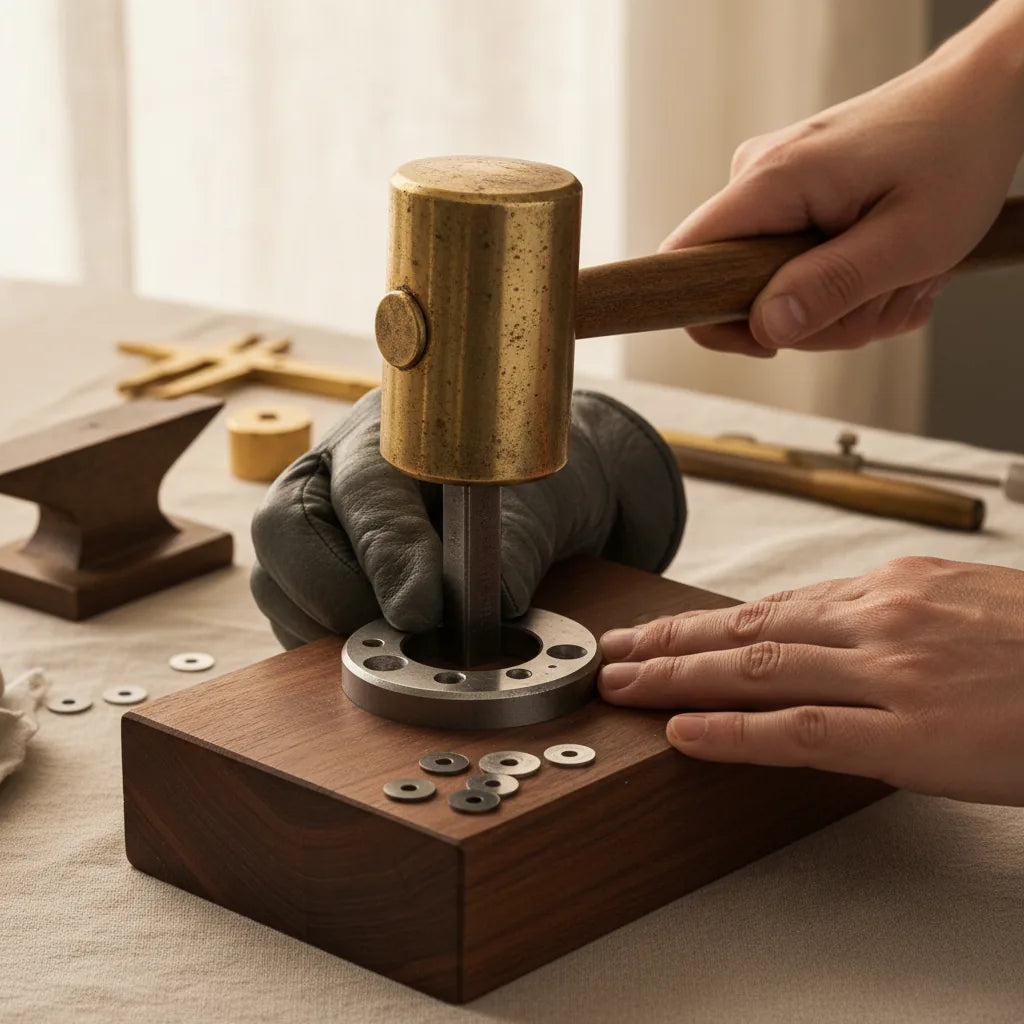
You need a solid, shock-absorbing surface underneath. The traditional choice is a hardwood block; a good solid stump of lignum vitae is ideal, but any dense end-grain wood will do. A modern alternative is a thick polyurethane block. This surface absorbs the energy of the hammer blow, ensuring it is all directed downwards into the cut, providing a clean shear.
Preparing Your Metal and Tool
First, make sure your metal sheet is fully annealed. Trying to cut work-hardened metal is a common cause of stuck punches and damaged cutting edges.
Second, and this is non-negotiable: lubricate your cutter. A small amount of light oil or cutting compound like Bur life makes a world of difference. Apply a thin film to the cutting edge of the punch before you insert it. This lubrication does two things: it dramatically reduces the friction as the punch shears through the metal, resulting in a much cleaner cut with a smaller burr. It also helps to prevent the punch from getting stuck in the die, and significantly extends the life of the cutting edges.
Making the Cut: The Right Hammer, The Right Strike
Put your steel hammers away. Striking a hardened steel punch with a hardened steel hammer is a recipe for disaster. It will mushroom the top of the punch over time, creating a dangerous, sharp fringe of metal. Worse, a glancing blow can send a chip of hardened steel flying across the workshop.
You must use a heavy, soft-faced mallet. A 1lb or 2lb brass mallet is the perfect tool for the job. Brass is softer than the tool steel of the punch, so it will deform on impact, not your punch. This ensures the full force of the blow is transferred cleanly. You can find a good selection in our Hammers & Forming collection.
The technique is crucial. Don't peck at it with a series of light taps. You need one single, confident, and heavy strike. The goal is to drive the punch all the way through the metal in one go. This single, clean action is what produces the best cut. It’s the same principle of a single, committed strike that applies when stamping a maker's mark. Hesitation leads to a messy result.
Releasing the Punch and Your Disc
Once you've made the cut, your disc will be sitting inside the die block, and the punch will be holding the remaining sheet. To release it, simply flip the die block over. The back of the holes are tapered, allowing you to give the end of the punch a gentle tap to free it. The disc can then be tipped out. If a punch is a little snug, a gentle tap with your mallet from the reverse side will pop it straight out.
Care, Maintenance, and Troubleshooting
A good disc cutter will last a lifetime if you look after it.
Keeping it Clean and Sharp
After use, wipe down the punches and the die block with a lightly oiled cloth. This prevents rust, a constant threat in any workshop with a pickle pot. Store the punches in their designated slots in the holder—this protects the cutting edges from being knocked about in a drawer.
Sharpening a disc cutter is a specialist job. The cutting faces must be kept perfectly flat and at a 90-degree angle to the sides. If you get a minor burr on an edge, you can carefully remove it with a very fine diamond file or sharpening stone held perfectly flat, but any major re-sharpening is best left to a tool specialist. The best approach is to protect the edges through correct use, lubrication, and soft hammers, so you never need to sharpen it in the first place.
Common Problems
- Stuck Punch: This is the most common issue, usually caused by one of three things: cutting un-annealed metal, not using lubricant, or not hitting the punch hard enough. If it gets stuck, add more lubricant around the punch and turn the block over. Try to tap it out from the back with firm, deliberate blows from your brass mallet.
- Burred or 'Dished' Discs: A heavy burr or a slightly concave/convex disc is a sign of a dull or damaged cutting edge. It can also be caused by the punch not being perfectly vertical when struck. A clean cut from a sharp, well-maintained disc cutter jewellery tool should have only a minimal burr that can be removed with a quick swipe of a file.
- Mushroomed Punch Head: This is the tell-tale sign of using a steel hammer. If the top of your punch starts to peen over, you must file it smooth and flat immediately. Those sharp edges can splinter off and are a serious safety hazard.
Beyond the Basics: When to Upgrade
For the vast majority of designer-makers, a high-quality hand-struck disc cutter is all that's ever needed. But what if you're doing high-volume production, or need to cut thicker sheet?
This is where you move into the realm of hydraulic presses. A hydraulic press (from a small 6-ton bench model to a 20-ton floor-standing beast) can be fitted with pancake dies or specialised cutting dies. It delivers immense, controlled pressure, allowing you to effortlessly blank out hundreds of discs from much thicker sheet than would be possible by hand. This type of industrial sheet metal disc cutter is a major workshop investment, but for a production-focused business, it's a game-changer.
For now, master the hand-powered tool. A quality cutter is an investment that pays for itself over and over in saved time and improved accuracy. Choose a good one, keep it oiled, use the right hammer, and it will serve you well for decades of happy making at the bench.
Our editorial process is grounded in practical, hands-on experience. Read more about our bench-tested standards.
If you're ready to add this essential bit of kit to your bench, you can see our carefully selected range in the Punches & Stamps collection.