

Spend any time in a shared workshop, from the Birmingham School of Jewellery to a co-op in Hatton Garden, and you'll see two types of tools: treasured heirlooms and cheap stand-ins. When you're starting out, your budget forces you into the second camp. The question is, how do you find a tool that will do the job without damaging your work, your wallet, or your morale? This is never more true than when looking for the best jewellers hammer under 30 pounds.
A poorly made hammer is a liability. Its face will mar your metal, its balance will fatigue your wrist, and its poorly fitted head could become a literal projectile. But you don't need to spend £90 on a German or Swiss import to get started. There's a sweet spot—a handful of tools that, with a little understanding and maybe ten minutes of fettling, offer exceptional value.
This guide is about finding those tools. It's not a catalogue of everything available; it's a curated list based on what I've seen work for apprentices and what I'd be willing to use on my own bench in a pinch. My reviews follow our strict editorial standards: everything is tested, nothing is sponsored, and the advice is the same I'd give a mate setting up their first bench. We'll judge each hammer on the three pillars I covered in my guide to choosing your first jeweller's hammer: face polish, head weight, and handle balance.
The "Under £30" Compromise: What to Expect
Let's be clear about what you get for this price. A budget jewellery hammer from a UK supplier like Cooksongold or Walsh isn't going to have the flawless finish of a Fretz or a Peddinghaus. The manufacturer has to save money somewhere, and it's usually in the final finishing.
Here’s what that typically means:
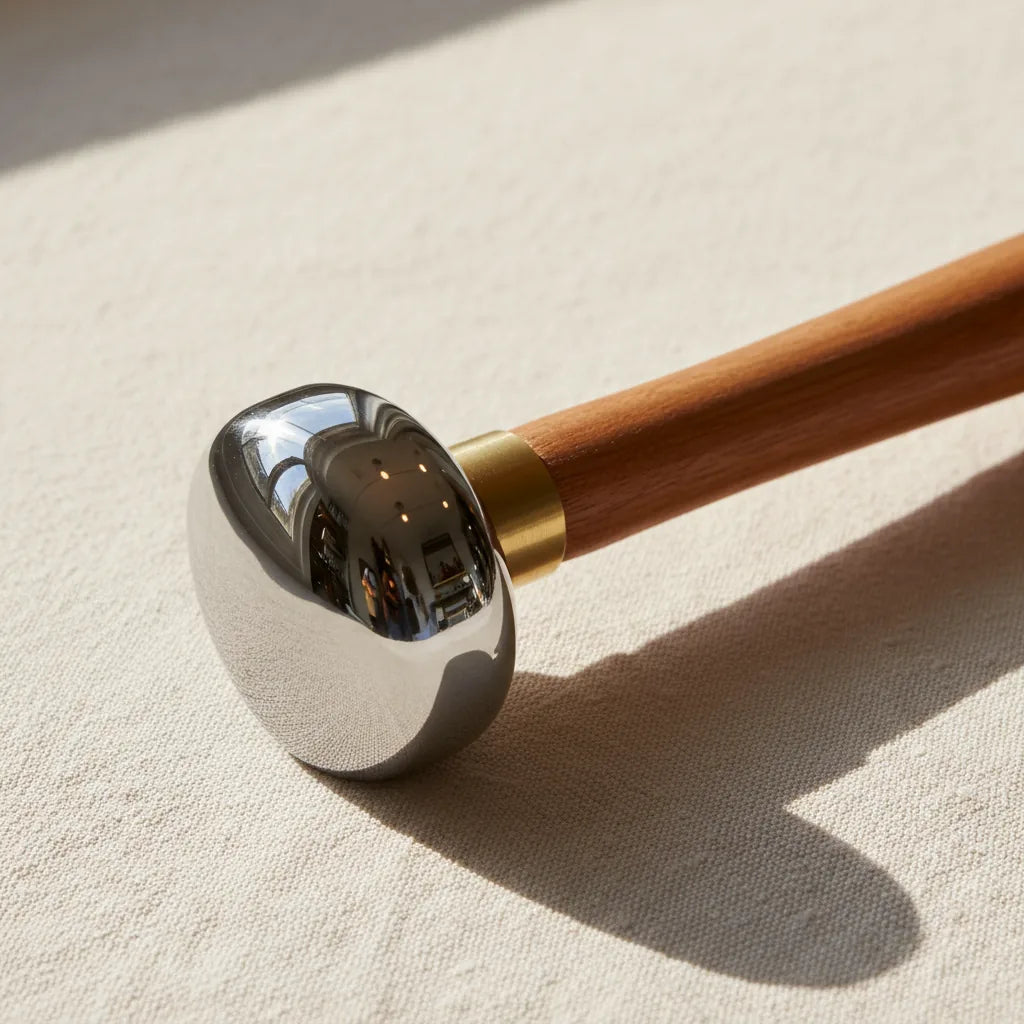
- Face Finish: The faces will be shaped correctly but are unlikely to be mirror-polished. Expect machining marks or a satin finish that will transfer to your metal. This is the single most important area you'll need to address.
- Handle: You'll get a functional hickory or similar hardwood handle, but it will likely be coated in a thick, slippery varnish. The grain selection won't be as considered as on a premium tool.
- Head Fitting: The head will be securely fitted, usually with a simple steel wedge, but the join might not be perfectly flush or aesthetically pleasing.
- Steel Quality: The head will be made from a decent carbon steel, properly hardened and tempered. It won't be the premium, high-alloy Sheffield steel of a top-tier hammer, but it will be more than tough enough for non-ferrous metals like silver, gold, and copper.
The good news is that every one of these compromises, especially the face polish and handle feel, can be rectified with a bit of elbow grease. A £25 hammer that you spend 20 minutes improving can perform 80% as well as a £100 one. That’s the real value.
This Year's Bench-Tested Picks
After testing a range of common, easily-sourced hammers, these are the five that offer the best performance-per-pound for a jeweller in their first few years.
1. The Workhorse Chasing Hammer (28mm)
- Price: Around £22-£28
- Who it's for: Every single beginner. If you only buy one metal hammer, this is it. It's the best chasing hammer beginner jewellers can get on a budget.
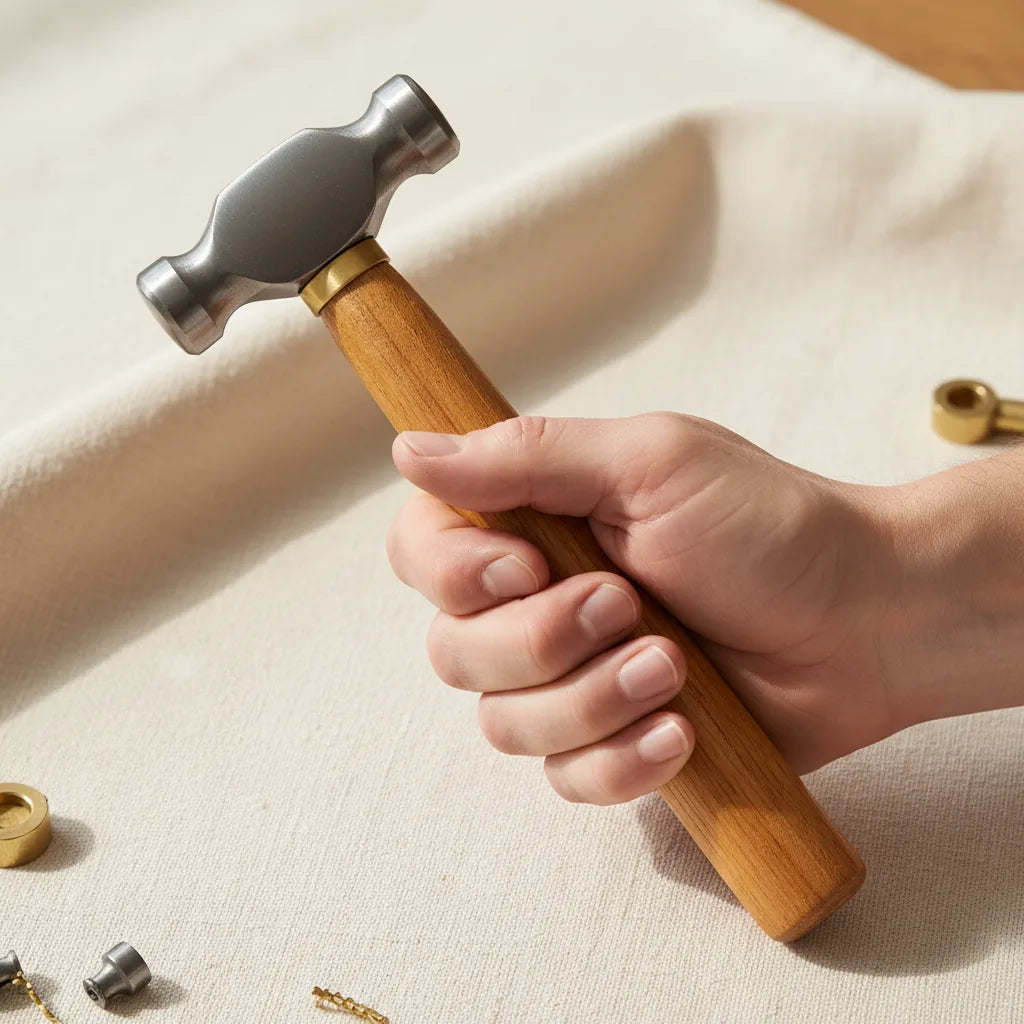
The chasing hammer is the quintessential jeweller's hammer. Its large, slightly domed face is for texturing and forming sheet metal, while the smaller ball peen on the other side is for riveting and creating decorative, hammered textures. A head weight of around 4oz (110g) with a 28mm face is the sweet spot for versatility.
The Good: The classic design is a masterpiece of ergonomics. The thin, flexible neck and bulbous end of the handle are designed to give you a light, responsive grip, allowing the hammer to pivot naturally in your hand for a "whipping" motion. This design reduces fatigue and gives you incredible control. At this price, you get a properly proportioned head and a decent hickory handle that follows this traditional, effective pattern. It’s perfect for forming anticlastic and synclastic shapes in silver sheet.
The Compromise: The face. Out of the box, the main face on the models I tested had fine concentric machining lines. Striking silver with this face will stamp those lines directly onto your workpiece. The ball peen side is often better but can have a slight flat spot at its apex. You must plan on spending 15 minutes polishing the main face to a mirror finish before you use it on a final piece. The handle's factory varnish is also slick and should be sanded off and replaced with a few coats of linseed or tung oil for a far superior grip.
Bench Verdict: An essential, non-negotiable tool. The compromises are entirely cosmetic and easily fixed. The underlying geometry and balance of these budget chasing hammers are surprisingly good, making them a fantastic entry level jewellery hammer. Once polished, it will serve you well for years.
2. The Engineer's Ball-Peen Hammer (8oz)
- Price: Around £15-£20
- Who it's for: Those doing heavier forging, riveting, or who need a general-purpose workshop hammer.
This isn't a "jeweller's hammer" in the traditional sense, but you'll find one on almost every jeweller's bench. The 8oz (225g) ball-peen is a staple of the engineering world, and that mass production makes it an incredible bargain. It's heavier and has a less refined handle than a chasing hammer, but it brings controlled force to the party.
The Good: Value and durability. For under £20, you get a drop-forged steel head that’s built to last a lifetime. The flat face is excellent for striking steel tools (dapping punches, hallmark stamps) and for heavier forging of thick silver wire or bar. The ball peen is larger and rounder than on a chasing hammer, perfect for creating deep, bold textures or for spreading the end of a rivet. The balance is forward-heavy, which is exactly what you want for delivering a solid, deliberate blow.
The Compromise: It’s a brute, not an artist. The handle is typically a thick, straight-ish piece of hickory designed for a full-fist grip, not the delicate control a jeweller needs. The faces, while hardened, are often roughly ground. You will absolutely need to "dress" the faces—breaking the sharp edge on the flat face to prevent it from leaving marks, and polishing both faces to a high shine. It's a cheap silversmith hammer that punches well above its weight after modification.
Bench Verdict: A fantastic second hammer. Don't try to use it for delicate planishing, but for moving metal with authority, it's unbeatable value. Think of it as your forging and stamping hammer, saving your more delicate chasing hammer from abuse. Buying an engineer's hammer and modifying it is a classic money-saving move for any jeweller starting out.
3. The Budget Planishing Hammer (Flat/Slightly Domed)
- Price: Around £25-£30
- Who it's for: Makers of hollow forms, wide rings, or anyone needing to smooth and harden forged metal.
A planishing hammer is used to deliver a series of light, overlapping blows to smooth out the lumps and bumps left by more aggressive forming. The goal is to create a uniform, often mirror-bright, surface. This means the condition of its face is paramount, making a budget version a calculated risk.
The Good: It gives you the correct head shape—typically one flat face and one slightly domed (convex) face—for under £30. The weight is usually around 4-6oz (110-170g), which is good for planishing 0.8mm to 1.2mm silver sheet without causing excessive thinning. The head is wide, providing good coverage with each blow. It makes the process of smoothing a raised vessel or wide bangle possible on a tight budget.
The Compromise: This hammer requires the most pre-use work of any on this list. The faces are almost guaranteed to be inadequately polished. A planishing hammer with a rough face is worse than useless; it's a texturing hammer in disguise. You must be prepared to work your way through several grades of wet-and-dry abrasive paper (say, 400, 800, 1200, 2000 grit) on a dead-flat surface, followed by a polishing compound like Tripoli or Rouge on a felt wheel, to get the necessary mirror finish. The handle is often a generic, straight type, lacking the ergonomic refinement of a dedicated silversmithing hammer.
Bench Verdict: Buy this hammer only if you are committed to polishing its faces. If you are, you'll be rewarded with a perfectly functional tool for a fraction of the cost of a premium one. If you're not, it will only cause frustration. It's a prime example of where your time is traded for money. For many jewellers, that is a trade worth making.
4. The Lightweight Riveting / Goldsmith's Hammer
- Price: Around £18-£24
- Who it's for: Anyone working on a small scale, setting rivets, or needing precise, light taps.
Sometimes called a goldsmith's hammer, this lightweight tool typically has one flat face and one cross-peen face (a wedge shape oriented parallel to the handle). The head is light, maybe 2-3oz (60-85g), and the whole tool is small and easy to manoeuvre.
The Good: Precision. When you're trying to gently flare the end of a 0.8mm silver wire to form a rivet, a heavy chasing hammer is overkill. This hammer gives you the delicate touch needed for such tasks. The cross-peen is invaluable for creating linear textures, forging fine wire, and for the initial spreading of a rivet head before finishing with the flat or a ball-peen face. The low price makes it an accessible addition to your toolkit for these specific, but common, jobs.
The Compromise: The lightweight nature makes it a specialist tool; it's not for general forming. The cross-peen on budget models can be quite sharp and may need to be softened slightly with abrasive paper to avoid cutting into your metal. As with the others, the faces will need a final polish, and the handle will benefit from being de-varnished and oiled.
Bench Verdict: You might not need this in your first month, but you'll soon find jobs where it's the only right tool. It's an excellent budget jewellery hammer UK makers should consider for delicate assembly work. Given its low cost, it's a smart purchase that rounds out a basic hammer collection and enables more complex constructions.
5. The Nylon or Rawhide Mallet (30-40mm)
- Price: Around £10-£18
- Who it's for: Literally everyone. This is a first-day-at-the-bench tool.
Okay, it's not a metal hammer, but it functions as one: it's for hitting things without marking them. A mallet with a replaceable nylon or compressed rawhide face is essential for forming metal around a mandrel (like a triblet for ring sizing), flattening sheet without hardening it, or closing bezels.
The Good: They are cheap, effective, and non-marring. The soft face allows you to shape your precious metal without leaving a single tool mark. A 32mm face diameter is a great all-rounder size. Nylon is more durable and gives a 'deader' blow, while rawhide has a bit more rebound and is kinder to very soft surfaces. For the price, you can't beat the utility.
The Compromise: They wear out. This isn't a flaw, it's by design—the mallet head deforms so your silver doesn't. You will eventually need to replace the faces (on nylon models) or the entire mallet (on rawhide ones). Cheaper rawhide mallets can sometimes have a strong, um, aroma when new, but this fades. The handles are purely functional.
Bench Verdict: You cannot practise jewellery or silversmithing without a soft-faced mallet. It's as fundamental as a sawframe. The budget versions are perfectly adequate and perform their job just as well as expensive ones. Don't overthink it; just get one.
Bench Notes: Getting the Most from Your Budget Hammer
A new hammer is just the starting point. The real craft is in tuning it to your hand and your work.
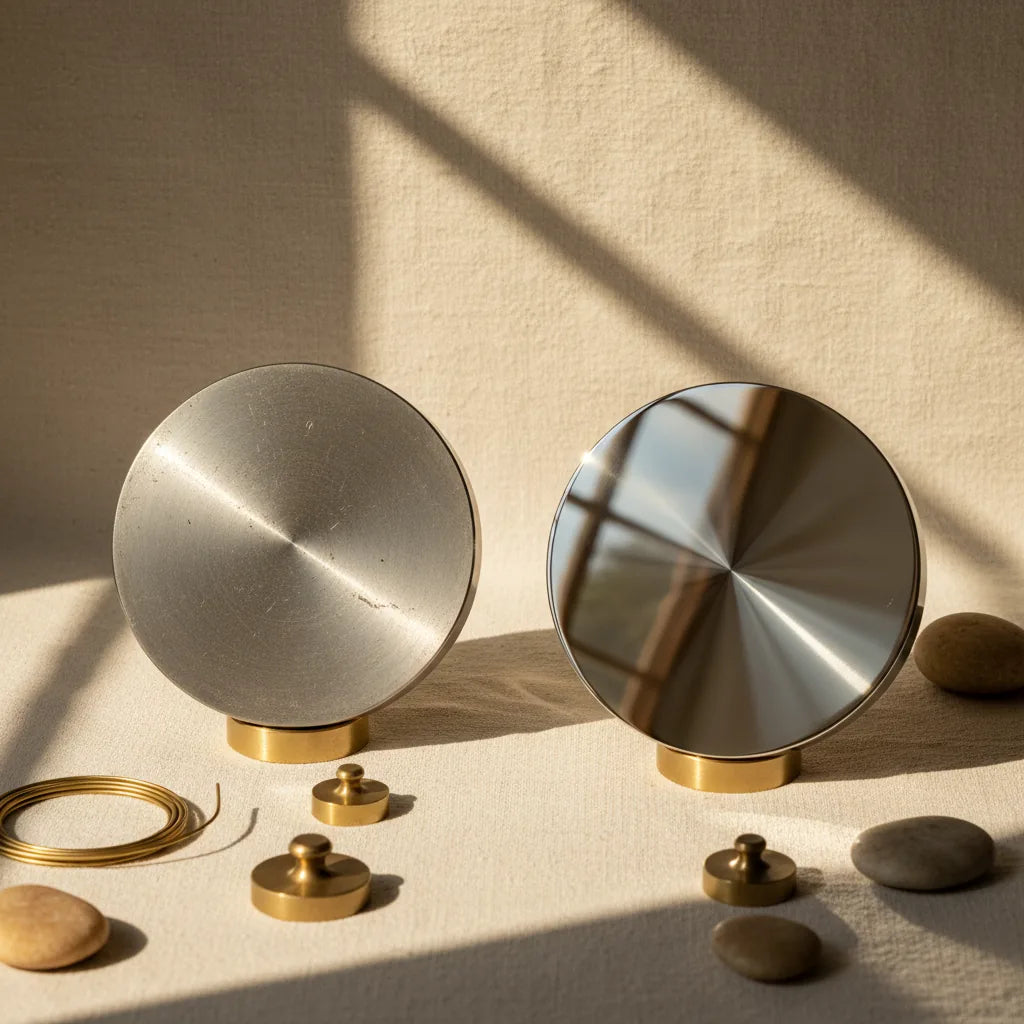
Polishing the Face: This is the most crucial step. Tape a sheet of 400-grit wet-and-dry paper to a flat piece of glass or steel. With a drop of water, move the hammer face over the paper in a circular motion until all machining marks are gone. Repeat with 800-grit, then 1200-grit. The face should have a deep, uniform satin sheen. For a true mirror polish, finish with a polishing motor and a felt wheel charged with a compound like Luxi Blue or Tripoli. Your work will thank you for it.
Refining the Handle: Use a scraper or coarse sandpaper to remove the thick factory varnish. This stuff is slippery and hides the feel of the wood. Once it's bare, sand it smooth (a 240-grit finish is fine) and apply a coat of boiled linseed oil or tung oil. Let it soak in, wipe off the excess, and let it cure. The difference in grip and feel is night and day.
This small investment of time is what elevates a simple tool into your tool. It's the difference between fighting with your equipment and having it feel like an extension of your hand. This is the core of our craft and a good lesson to learn early. It's what turns a good-value purchase into the best jewellers hammer under 30 for your bench.
A well-chosen set of hammers is the foundation of any jeweller's toolkit. While the allure of high-end tools is strong, your skill, not your budget, should be the limiting factor in your work. By choosing wisely and investing a little time in preparation, you can build a collection of reliable, effective hammers for less than the price of a single premium one. These tools will be more than capable of seeing you through your training and the first few years of your career, especially for core tasks like learning to anneal and forge silver.
When you're ready to find the right tool for your bench, you can see our full range in the Hammers & Forming collection.