
The first time a customer brings you a ring that's a size too small, the panic is real. Make it wrong and you've either cracked a shank, distorted the band into an oval, or stretched it half a size past what they wanted. None of these are reversible without re-annealing, re-forming, and starting over.
The good news: ring sizing and stretching is one of the most teachable skills at the bench. There's a right way and a wrong way, and the right way takes about ninety seconds per ring once your hands know it. This post is the workshop sequence I teach apprentices: how to measure cleanly, when to stretch vs cut-and-resize, the three techniques for adding a half-size, and the most common mistake (which is not what most beginners think it is).
If you've not yet figured out which mandrel to buy, start with Steel, aluminium, or wood ring mandrel — what you actually need. This post assumes you have at least an aluminium sizing mandrel and a wooden forming mandrel within reach.
Sizing first: getting an accurate read
Before you change anything about a ring, you need to know what size it is now. Two scenarios:
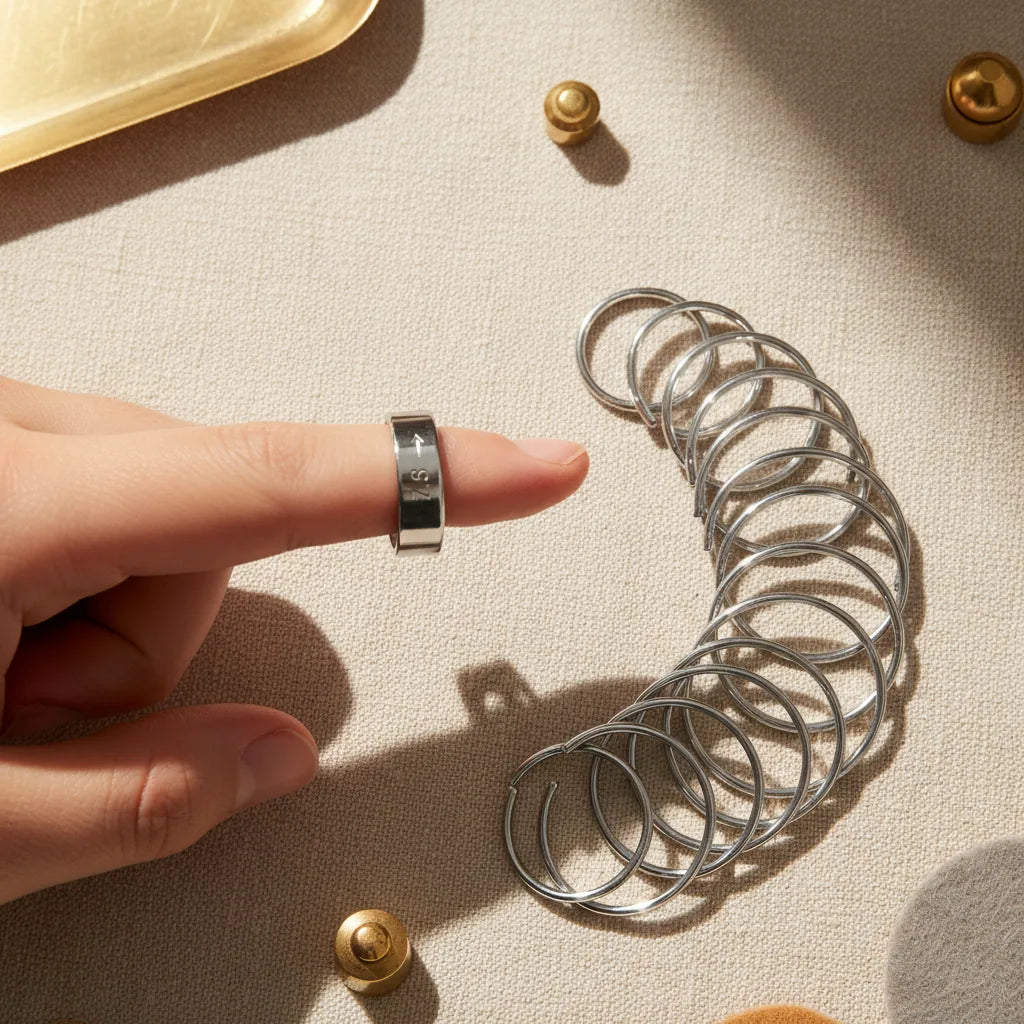
Scenario A — you have the customer's finger. The customer is in front of you. Use a 27-piece chrome-plated bangle and ring sizer set — the metal-ring gauges — and try sizes on. The one that slips on with mild resistance and comes off without a fight is the right size. Then check it on the aluminium ring mandrel to confirm.
Scenario B — you have only the ring. Slip the ring onto the aluminium sizing mandrel. Tilt the mandrel vertically so the ring slides down under its own weight and rests at its natural position. Read the size marking at the bottom edge of the ring, not the top — the top edge will read a smaller size because the mandrel is tapered.
Reading consistency: always read the same edge of the ring (I use the lower / wider edge). If you read sometimes from the top and sometimes from the bottom of the same ring, you'll get inconsistent results that look like the mandrel is wrong.
For a ring that's significantly out of round, slip it onto the mandrel and gently rotate it — the position where it sits on the smallest taper section is the effective size for sizing purposes. Round the ring first if it's badly distorted; sizing an oval ring is meaningless.
When to stretch, when to cut and resize
The fundamental sizing choice:
Stretching up moves the ring to a larger size by physically stretching the metal. Best for changes of up to ¾ of a UK size (about 0.5 mm in inside circumference). Beyond that, the band thins enough that the stretching shows visibly — the metal gets noticeably narrower or thinner at the stretched region.
Cut and resize means cutting the ring open, removing or adding metal, and re-soldering. Necessary for size changes greater than 1 UK size, and the only option for sizing down. More involved, but doesn't degrade the band.
Sizing down at all must be done by cutting and removing metal. You can't compress a ring back to a smaller size in any clean way — the cross-section won't reduce, the band just buckles.
The decision matrix is simple:
- Up to ¾ UK size larger: stretch
- More than ¾ size larger: cut, add metal, re-solder
- Any size smaller: cut, remove metal, re-solder
Stretching up: the technique
You'll need:
- A clean 9" wooden ring mandrel or the 12" professional wooden mandrel (do NOT stretch on a sizing aluminium mandrel — you'll dent the size marks)
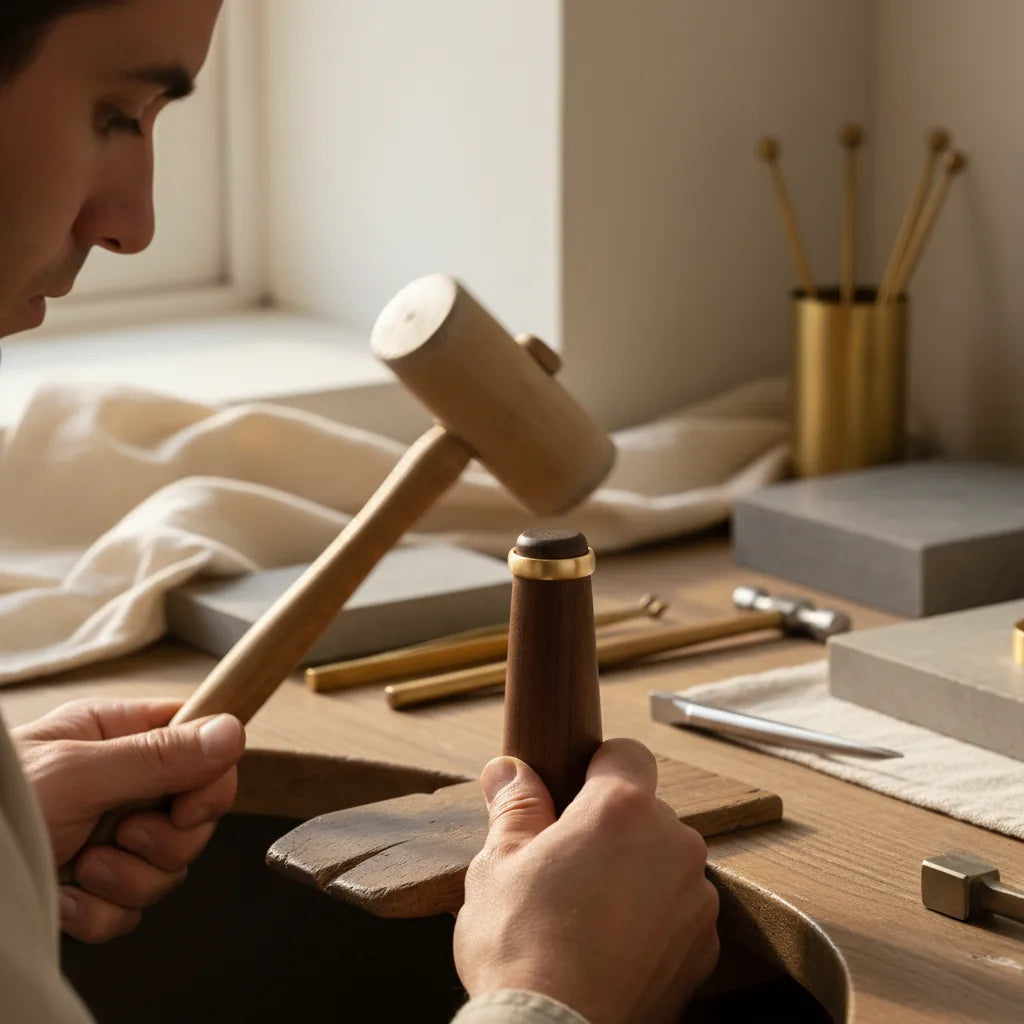
- A rawhide mallet (no metal hammers for this — see warnings below)
- The ring you're stretching, which should be in the soft (annealed) state
Step 1 — Anneal first
If the ring has been work-hardened (you've just forged it, set a stone with force, or it's been worn a while), anneal it first. How to anneal and forge silver at the bench covers the process. A work-hardened ring will crack rather than stretch.
Step 2 — Position on the mandrel
Slip the ring onto the wooden mandrel. Push it down firmly so it's gripping the mandrel at one specific point on the taper. The wider part of the ring goes toward the wider part of the mandrel (always — never let the ring sit "upside down" on the taper).
Step 3 — Rotate-and-tap, not pound
Hold the mandrel in your non-dominant hand, vertical to your body. Tap the top edge of the ring with the rawhide mallet — not the ring shoulder, not the side. Tap, rotate the ring a quarter-turn, tap, rotate, tap, rotate. One full rotation = one cycle.
The force per tap should be modest. You're nudging the ring down the taper a tiny amount per cycle, not driving it. After 4–6 full rotations, slide the ring off and re-read the size on your aluminium sizing mandrel. You should see ¼ size increase per 8–10 rotations of tapping.
If you're not seeing the size change, you're either tapping too lightly or the ring is too hard — re-anneal.
Step 4 — Stop and check often
The big risk of stretching is going past the target size. Check the size every 8–10 taps. It is much easier to add taps than to remove them — and to remove them you'd have to cut, remove metal, and re-solder.
Stop when you're at the target size.
Step 5 — True the round
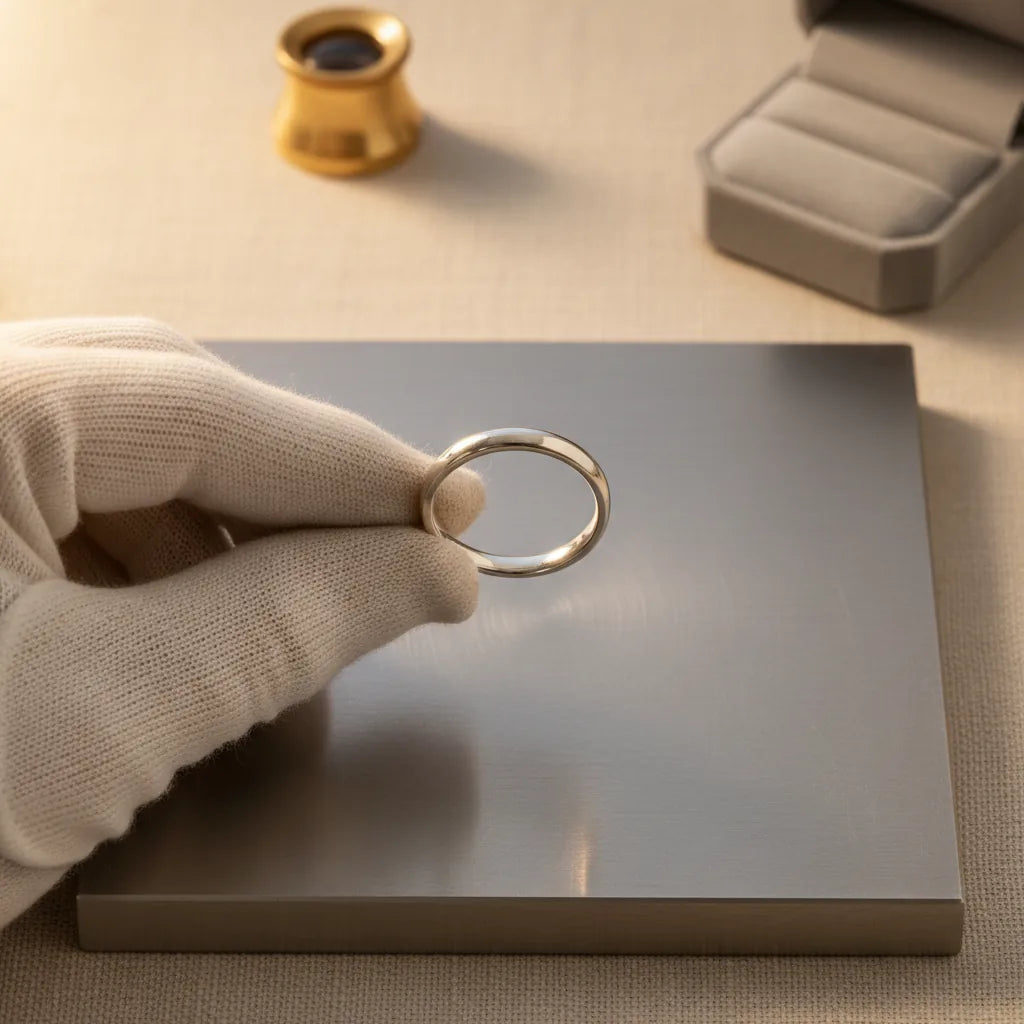
After stretching, the ring may be slightly out of round. Press it against the wooden mandrel and rotate, applying light pressure to even out any high spots. Then tap any remaining wobble flat with the rawhide mallet against the mandrel. Final check on a flat surface plate — the ring should sit perfectly flat with no rocking.
The three things that ruin a stretching job
1. Metal mallet instead of rawhide. A steel chasing hammer transfers force into the side of the ring rather than the top edge, dents the band, and leaves visible marks. Always rawhide for stretching, full stop. The nylon-tipped planishing hammer is also fine if you don't have rawhide.
2. Stretching the wrong side of the ring. If the ring has a setting or feature on top, you stretch from the bottom (the plain shank) — never tap directly on the setting side. Setting your taps on the shoulder of the setting will distort the stone seat and the stone may come loose.
3. Cold-stretching past 1 UK size. Stretching is a controlled forming process. Try to push it more than ¾ to 1 UK size on a single anneal cycle and you'll see the metal narrow and the surface go matte. At that point, stop, anneal, and continue — or accept that you've reached the practical limit and need to cut-and-resize instead.
Cut and resize: the principle
This is a bigger topic (worthy of its own post), but the headline:
Sizing up: cut the shank cleanly at the bottom (away from any setting). Slip a small piece of matching wire or sheet stock into the gap, the exact length needed to bring the ring to size. Solder with hard silver solder, true on a steel mandrel with the 22mm chasing hammer, planish smooth with the 16oz planishing hammer, pickle, file the join flush, finish.
Sizing down: cut the shank, remove a measured slice (length = circumference difference at the target size), bring the cut faces together, solder, true, planish, finish. The slice removed should be just slightly narrower than the calculated difference — over-removing is harder to fix than under-removing.
The British Hallmarking Council's guidance is worth noting here: any significant resize on a hallmarked piece may require re-hallmarking. For UK customers, sizes up to ±2 from the hallmark are typically fine; anything beyond warrants a conversation with the Assay Office about re-marking.
Reading the metal: tactile feedback
Two things to feel for as you work:
The mallet rebound. A soft, annealed silver ring on a wooden mandrel gives a muted mallet rebound — the energy goes into stretching the metal. A work-hardened ring gives a crisp, ringing rebound — the energy bounces back, no movement. If you hear/feel the crisp rebound, stop and anneal.
The friction on the mandrel. As the ring stretches, it loosens on the mandrel and slides further down the taper. If it's not moving down the taper after rotation cycles, either nothing is happening (anneal first) or the mandrel surface has friction (clean it with a soft cloth).
Frequently asked
How much can I stretch a ring in one session?
With proper annealing between cycles, effectively unlimited — but practically, ¾ to 1 UK size at a time before re-annealing. Customers usually only need a half-size adjustment, which is one session of stretching from a single anneal.
Can I stretch a hallmarked ring?
Yes, up to roughly ±2 UK sizes without affecting the hallmark's validity in most cases. Larger changes may need re-hallmarking — check with your local Assay Office for the specifics on your customer's piece.
What if the ring has a stone?
Don't stretch a ring with stones unless you know the stone can handle the work. Diamonds and corundum (sapphire, ruby) are fine. Soft stones (opal, turquoise, pearls) will crack. Heat-sensitive stones (emerald, certain treated stones) can't be re-annealed safely.
Can I size a ring up without any tools?
No. You will distort the metal, mark the surface, and possibly crack the band. Use the right tools — a £15 wooden mandrel and a £10 rawhide mallet covers basic sizing forever.
Why does my stretched ring read M on my mandrel but the customer says it doesn't fit?
Three possible causes: (1) you stretched it to M on the top edge but the bottom edge reads smaller — re-read at the bottom edge of the ring; (2) your mandrel is calibrated differently from the sizer set the customer was measured with; (3) the customer's finger size changes through the day (warm/cold, water retention). Always size with the customer present if possible, and let them try the ring once you're at the target size.
Where to go next
Pair this with Choosing a ring mandrel for the tool-selection side, and How to anneal and forge silver at the bench for the supporting metalwork skill. Browse the Mandrels & Sizing collection when you're ready to commit to the right set.
— K.