
Piercing — sawing shapes out of sheet metal with a fine-bladed frame saw — is the first real skill every bench jeweller learns, and it's the one that humbles everyone. The blades are hair-fine, they cost pennies each, and a beginner can snap a dozen in an afternoon. I've watched apprentices nearly give up over it. Then something clicks, and within a week they're cutting clean curves and threading blades through drilled holes to pierce out internal windows.
The secret is that snapping blades is almost never about the blade. It's about four things you can fix today: blade choice, tension, stroke, and pressure. Get those right and a single blade will outlast a whole evening's work.
This guide is the one I give before anyone touches the Pliers & Cutters collection — because a saw and a bench pin are the two tools that turn a sheet of silver into a piece of jewellery.
The frame and the bench pin
You need two things before a blade goes anywhere near metal.
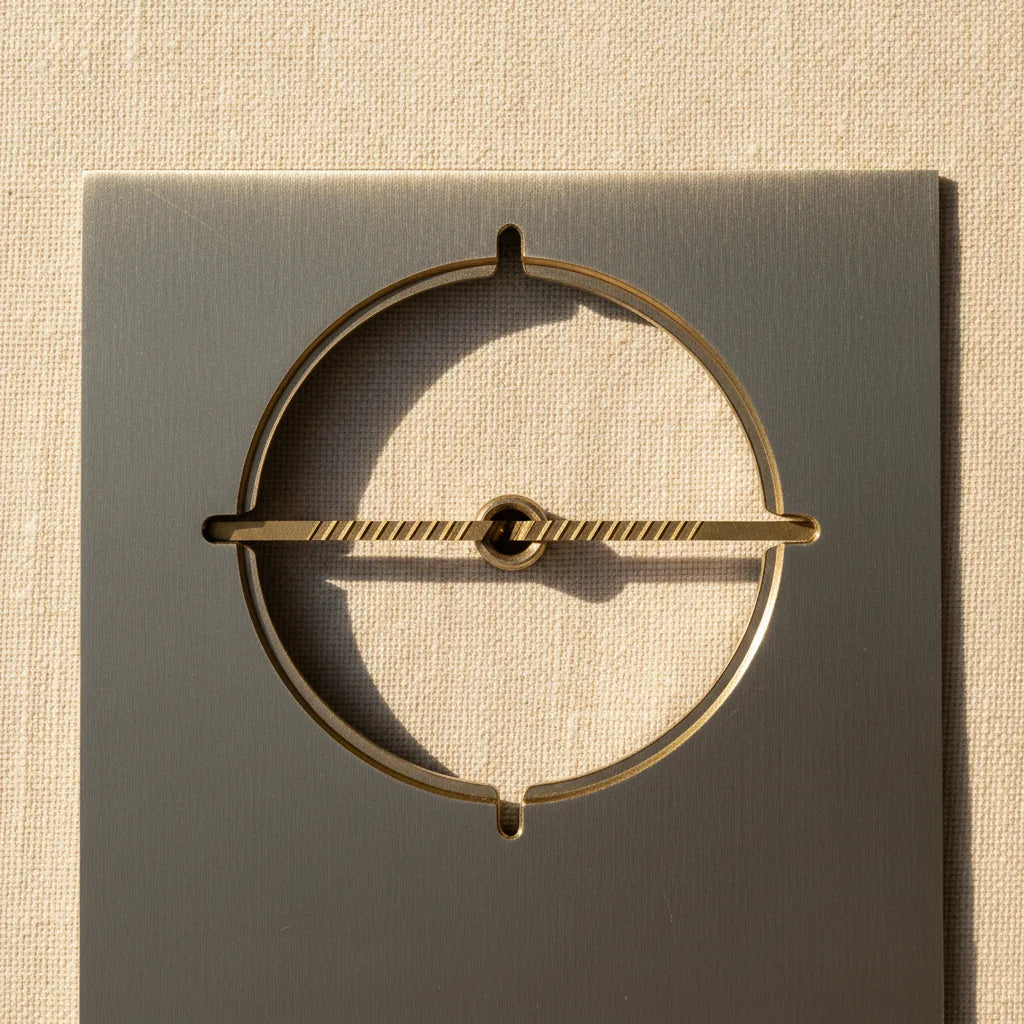
A frame with adjustable depth. A jeweller's saw frame holds the blade under tension between two clamps. An adjustable frame — like our C-shape flexible saw frame — lets you re-clamp a broken blade and keep cutting, which matters when blades are consumable. The throat depth (the gap between blade and frame) decides how far from an edge you can cut; 3"–4" covers almost all bench work.
A V-slot bench pin. This is the wooden tongue clamped to your bench edge with a V cut into it. You saw over the V, supporting the metal on both sides of the blade. Without it you're sawing into thin air and the metal flexes with every stroke — which snaps blades. If you're still deciding how to mount one, I've compared the options in bench pin vs bench anvil, and the whole bench layout is covered in setting up your first jewellery bench.
Choosing the right blade (the "three teeth" rule)
Blades are graded by number, from coarse to fine: 4, 2, 1, 1/0, 2/0, all the way down to 8/0. The bigger the "ought" number, the finer the blade.
The rule that stops most breakages: at least three teeth should be in contact with the metal at all times. Too coarse a blade on thin sheet means a single tooth catches and jams — snap. Too fine a blade on thick stock clogs and overheats. As a starting point:
- 0.5–0.8mm sheet (most pendants, earrings): a 2/0 or 3/0 blade.
- 1mm+ sheet or ring stock: a 1 or 2 blade.
- Fine piercing in thin sheet: 4/0 or finer.
Keep two grades on the bench and you'll cover 90% of work. (For cutting wire and hardened stock rather than sheet, a saw is the wrong tool — see cutting hardened jewellery wire for what to reach for instead.)
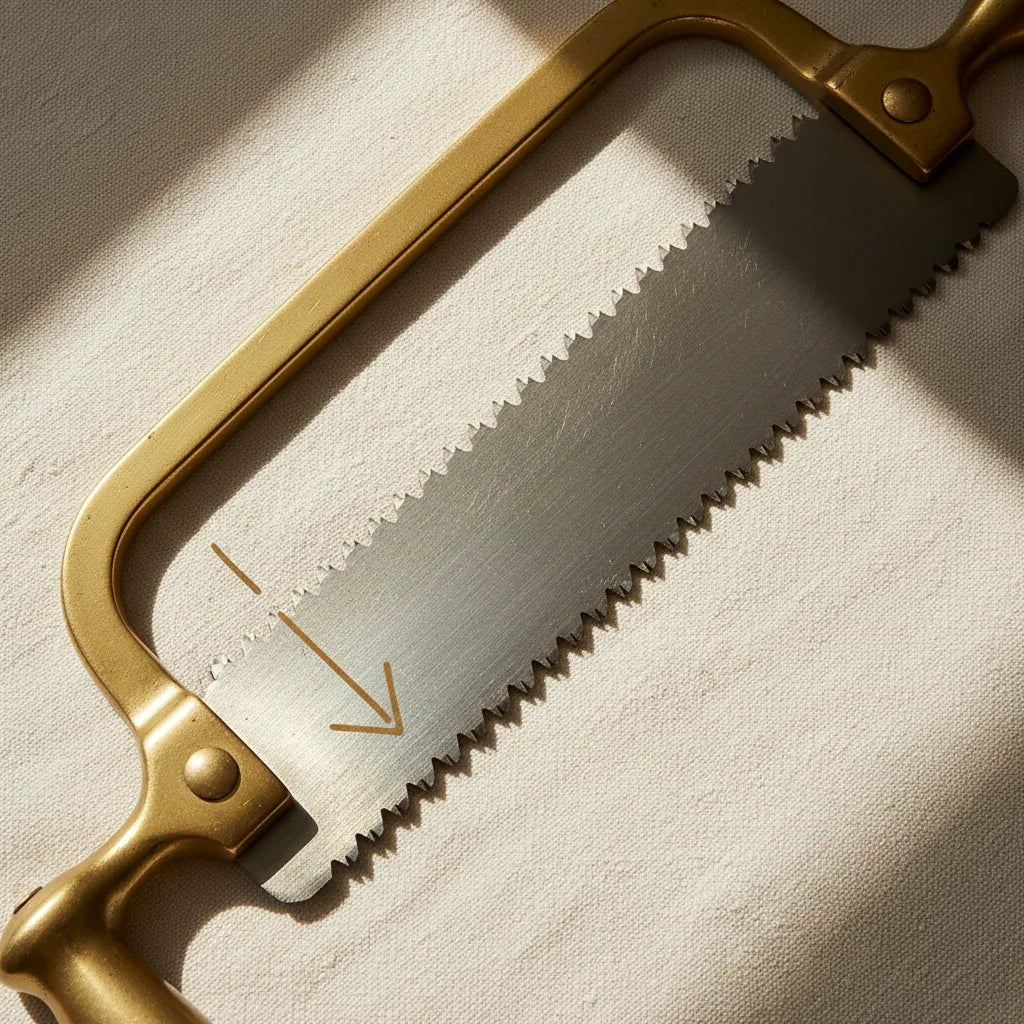
Fitting the blade: teeth down, teeth forward
This is where half of all beginners go wrong on day one.
- Teeth point DOWN and TOWARD the handle. Run a fingernail up the blade — it should feel smooth going up, catch going down. The saw cuts on the down stroke. Fit it backwards and it skates and skips.
- Clamp the top first. Secure the blade in the top clamp (away from the handle).
- Tension by compressing the frame. Press the frame's far end against the bench edge so it flexes slightly shorter, then tighten the bottom clamp while it's compressed. Release, and the frame springs back, pulling the blade tight.
- Test the pitch. Pluck the blade like a guitar string — it should give a clear, high ping, not a dull thud. A slack blade wanders and twists, and a twisted blade snaps.
A correctly tensioned blade does the work for you. A slack one fights you.

The stroke: vertical, relaxed, let it cut
Hold the frame loosely, handle in your palm, and keep the blade dead vertical to the metal. Now:
- Long, full strokes using the whole blade length — not short scrubbing at the middle, which wears one spot and heats it.
- Almost no forward pressure. The weight of the frame plus the cutting action is enough. If you're pushing, you're about to snap. Let the teeth bite and clear on their own rhythm.
- A drop of lubricant. Beeswax, a candle stub, or proprietary blade lube on the blade halves your breakage rate and gives a smoother cut. Re-apply every minute or so.
Your free hand feeds the metal gently into the blade and steadies it on the bench pin. Think of it as the blade staying still and the metal coming to it.
Turning corners and piercing internal shapes
External corners: keep sawing up and down on the spot while you slowly rotate the metal around the blade. Don't force the blade sideways into the turn — that lateral pressure is a classic snap. Saw in place, steer with the metal.
Internal piercing (cutting a window inside the sheet): drill a small pilot hole inside the waste area, un-clamp the blade's bottom end, thread it through the hole, re-tension, and saw out the internal shape. Then release and remove. This is how openwork, initials and pierced patterns are made — and it feels like magic the first time it works.
Whatever you saw, the edge will need cleaning up afterwards. That's the next tool along the bench: read needle files explained for how to turn a sawn edge into a finished one.
The four reasons beginners snap blades
If you remember nothing else:
- Too much forward pressure. The number one cause. Ease off — let the blade cut.
- Slack tension. A blade that pings dull is a blade about to twist and break. Re-tension.
- Twisting the blade in a turn. Saw on the spot, rotate the metal, never lever sideways.
- Wrong blade for the thickness. Fewer than three teeth on the metal = jam and snap. Match the grade to the gauge.
None of these are about blade quality. They're technique, and technique is free.
Frequently asked
Why do my jeweller's saw blades keep snapping?
Almost always one of four things: too much forward pressure, a blade that isn't tensioned tight enough (it should ping like a guitar string), twisting the blade while turning a corner, or using too coarse a blade for thin sheet. Fix the technique before you blame the blades.
Which way do the teeth go on a jeweller's saw?
Teeth point down (toward the floor) and back toward the handle. Run a fingernail up the blade — it should catch on the downstroke, because the saw cuts on the down pull.
What saw blade size should a beginner use?
A 2/0 blade is the best all-rounder for 0.5–0.8mm sheet. Keep a coarser 1 or 2 for thicker stock. The rule is to keep at least three teeth touching the metal at once.
Do I need a bench pin to use a jeweller's saw?
Yes — saw over the V-slot of a bench pin so the metal is supported on both sides of the blade. Sawing unsupported metal flexes it and snaps blades.
Can I cut wire with a jeweller's saw?
You can, but for hardened wire and chain a flush or side cutter is faster and cleaner. See our guide to cutting hardened jewellery wire.
Where to go next
Get a saw frame and a V-slot bench pin, buy a gross of 2/0 blades (they're consumable — accept it), and spend an evening piercing straight lines and curves in scrap brass before you touch silver. Brass cuts like silver and costs a tenth as much.
Once your sawn edges are clean, the next step is filing them true — needle files explained picks up exactly there. If you'd rather punch discs than saw them, compare the approaches in disc cutter vs jeweller's saw.
— K.