
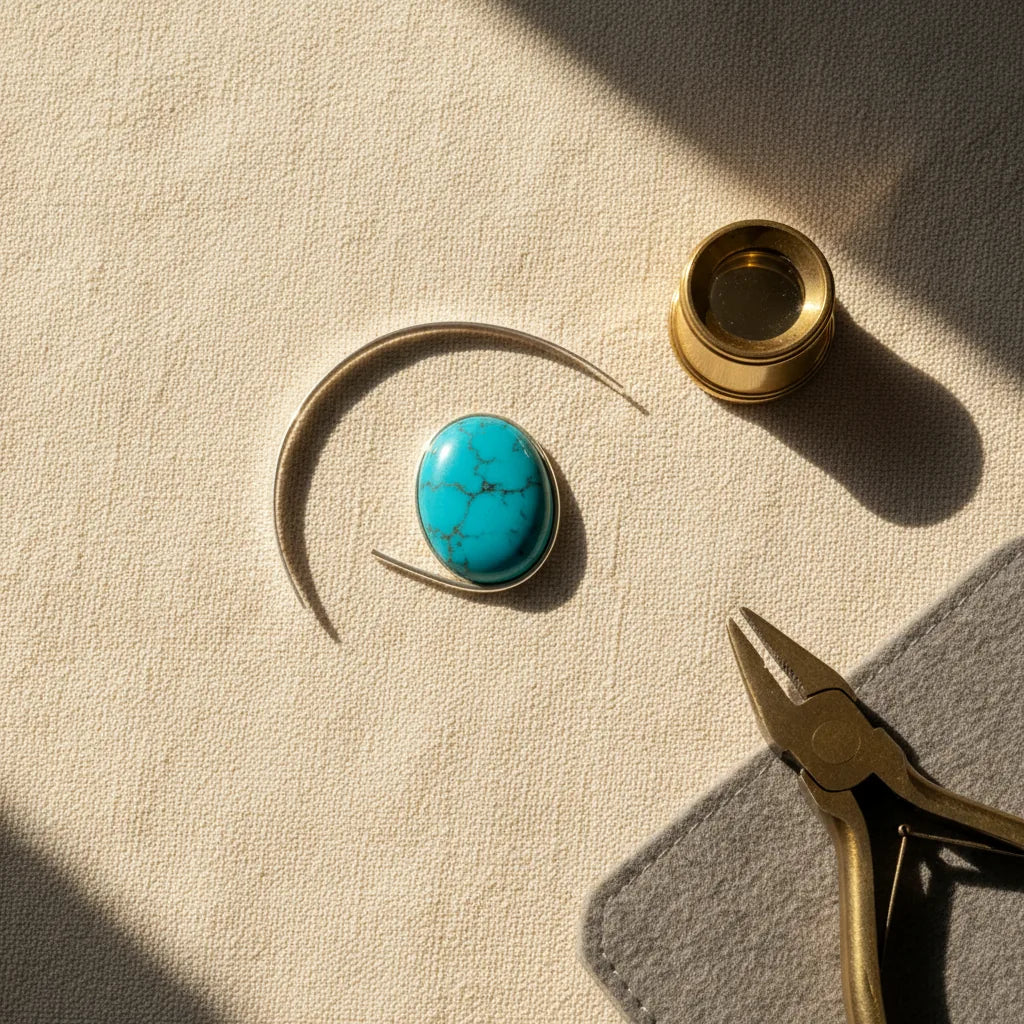
A bezel is the friendliest way into stone setting: a wall of metal that wraps around a cabochon and gets pushed over its edge to hold it. No claws to cut, no faceted girdle to seat precisely — just a collar, a seat, and a clean push. It's the first setting I teach, and a well-made bezel on a simple cabochon looks more accomplished than it has any right to.
It does demand that the earlier skills are in place: you'll saw and file the bezel strip (how to use a jeweller's saw and needle files explained), solder it into a ring (how to solder sterling silver without pitting), and cut the seat with a bur (drilling and burs at the bench). Setting is where the whole bench workflow comes together. The setting tools here live in the Pliers & Cutters collection.
The tools you need
Not many, which is part of the appeal:
- A pusher or bezel rocker — a flat-faced steel tool to press the bezel wall over the stone. A rocker lets you walk the metal down in small bites.
- A burnisher — a hard, polished, curved steel blade to rub the bezel smooth and bright against the stone once it's down. A burnishing set with straight and curved blades covers both setting and finishing; a single straight burnisher is enough to start.
- A ball or setting bur — from your diamond bur set — to cut the seat the stone sits on.
If you're unsure whether to push with a pusher or burnish the wall down, I've laid out the difference in bezel pusher vs burnisher — short version, you use both, in that order.
Step 1: Make the bezel to fit the stone
Fine silver (99.9%) is the traditional bezel metal — it's softer than sterling and pushes over without fighting you. Wrap a strip of bezel around the cabochon, mark where it overlaps, and saw it to length so it just kisses closed around the girdle (the widest part of the stone). Solder the join, then true it round on a small mandrel.
Height is everything. The bezel must be tall enough to grip the stone above the point where the cabochon starts to curve inward — but no taller. Too tall and the wall wrinkles and folds as you push it; too short and it won't hold. As a rule, the bezel sits just above the girdle. File the top edge level so it meets the stone evenly all the way round.
Step 2: Cut the seat and check the fit
Solder the bezel to your ring or backplate, pickle it clean, and check the stone drops in and sits level. If the stone sits too deep (the bezel swallows it), the wall is too tall — file it down. If it perches too high, you may need to cut a small ledge — a seat — inside the bezel with a ball bur so the stone settles to the right depth.
Dry-fit the stone and look at it from the side at eye level. The bezel should stand just proud of the stone's curve all the way around. Only set when the dry fit is right — chasing a bad fit after you've started pushing never ends well.
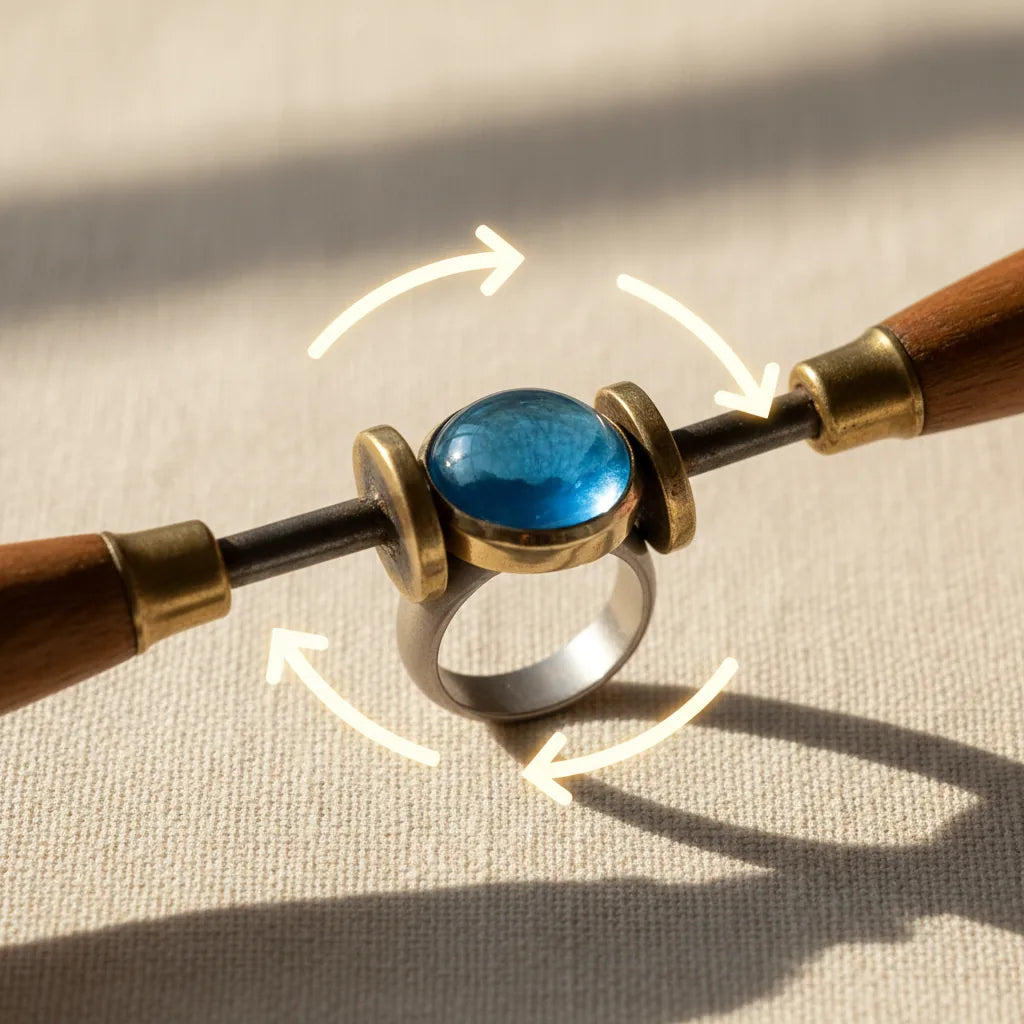
Step 3: Push the wall over — in opposing pairs
This is the step that makes or breaks it. Never push the bezel down one side at a time — the stone shifts and tilts and the wall ripples. Instead, work in opposing pairs, like tightening wheel nuts:
- Press the wall in at 12 o'clock, then jump straight across to 6 o'clock.
- Then 3 o'clock, then 9 o'clock.
- Then halve each remaining gap — 1–2 o'clock, then 7–8, and so on — always opposite to opposite.
Use firm, controlled pressure with the pusher, walking the metal over the stone a little at a time, round and round, until the whole wall lies against the cabochon with no gaps. Patience here is the entire game.
Step 4: Burnish, file and finish
Once the wall is down all round, take the burnisher and rub the bezel firmly, working around the stone, to press it tight and bring it to a bright, smooth, gap-free line against the cabochon. A drop of lubricant helps the burnisher glide.
Then clean up: a fine file or emery to true the outside of the bezel (a barrette file's safe edge protects the stone), and finally polish. Bringing a set piece to a finish — without dragging compound under the stone — is its own discipline, covered in how to polish jewellery by hand.
The mistakes everyone makes once
- Bezel too tall: the wall wrinkles. File it lower before setting.
- Pushing one side fully first: the stone tilts. Always opposite-to-opposite.
- Setting a heat-sensitive or soft stone you should rivet or cold-set instead: turquoise, opal and pearls don't love pressure or heat — start with a hardstone cabochon like agate or jasper.
- Forgetting to check the dry fit: if it isn't right loose, it won't be right set.
Start with a 10–12mm round agate cab in a fine-silver bezel on a simple ring. It's forgiving, cheap, and teaches the whole sequence.
Frequently asked
What tools do I need to bezel set a stone?
A pusher or bezel rocker to press the wall over, a burnisher to rub it smooth and tight, and a ball/setting bur to cut the seat. Fine silver bezel strip and a hardstone cabochon to practise on.
How tall should a bezel be?
Just tall enough to grip the stone above its girdle, where the cabochon starts curving in — and no taller, or the wall wrinkles when you push it. File the top level before setting.
Why does my bezel wrinkle when I push it?
The wall is too tall, you're pushing too hard in one spot, or you're working one side at a time. Lower the bezel, ease the pressure, and push in opposing pairs (12–6, 3–9) working round evenly.
What's the best stone for a first bezel setting?
A round hardstone cabochon — agate or jasper — around 10–12mm. It's cheap, durable, and tolerates the pressure and heat that opal, turquoise and pearl won't.
Pusher or burnisher — which do I use?
Both: the pusher (or rocker) walks the wall over the stone first, then the burnisher rubs it tight, smooth and bright. See bezel pusher vs burnisher.
Where to go next
Get a burnisher and a ball bur from your diamond set, make a fine-silver bezel for an agate cab, and set it on a band you've already sized — how to size and stretch a ring covers the band.
Setting is the second-to-last step: cut the seat in drilling and burs at the bench, then bring the finished piece up in how to polish jewellery by hand.
— K.