
Polishing is where beginners expect magic and meet physics. They take a piece straight from the file to a buff loaded with rouge, spend twenty minutes on it, and end up with a shiny piece that's still covered in scratches — now gleaming scratches. Then they assume they need a better polishing motor. They don't. They need to understand the one rule that governs all finishing.
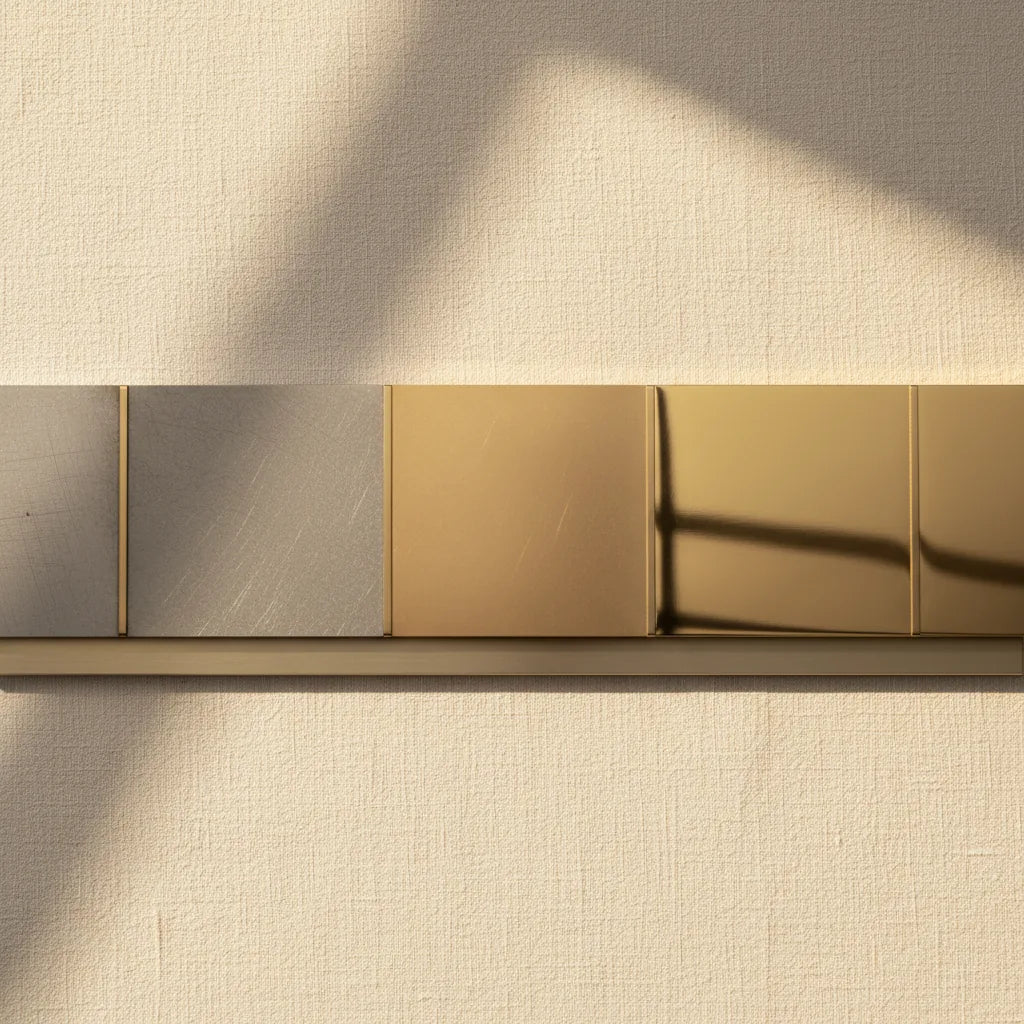
Polishing only removes the scratches it can reach. A polish — even the finest rouge — can only take out marks finer than its own abrasive. It cannot remove file marks or deep scratches; it just makes them shiny. The mirror finish you're chasing is built before the final polish, by working down through progressively finer abrasives until the surface is already nearly there. The buff is the last 5%, not the whole job.
This is the final step in the bench workflow — saw, file, drill, set, finish — and it ties straight back to needle files explained, because filing is where the finish actually begins. The polishing tools here sit in the Pliers & Cutters collection.
The progression: coarse to fine, no skipping
Every reflective surface is built the same way — each stage removes the scratches left by the one before it:
- File to shape and remove the worst marks (a medium cut, then finer).
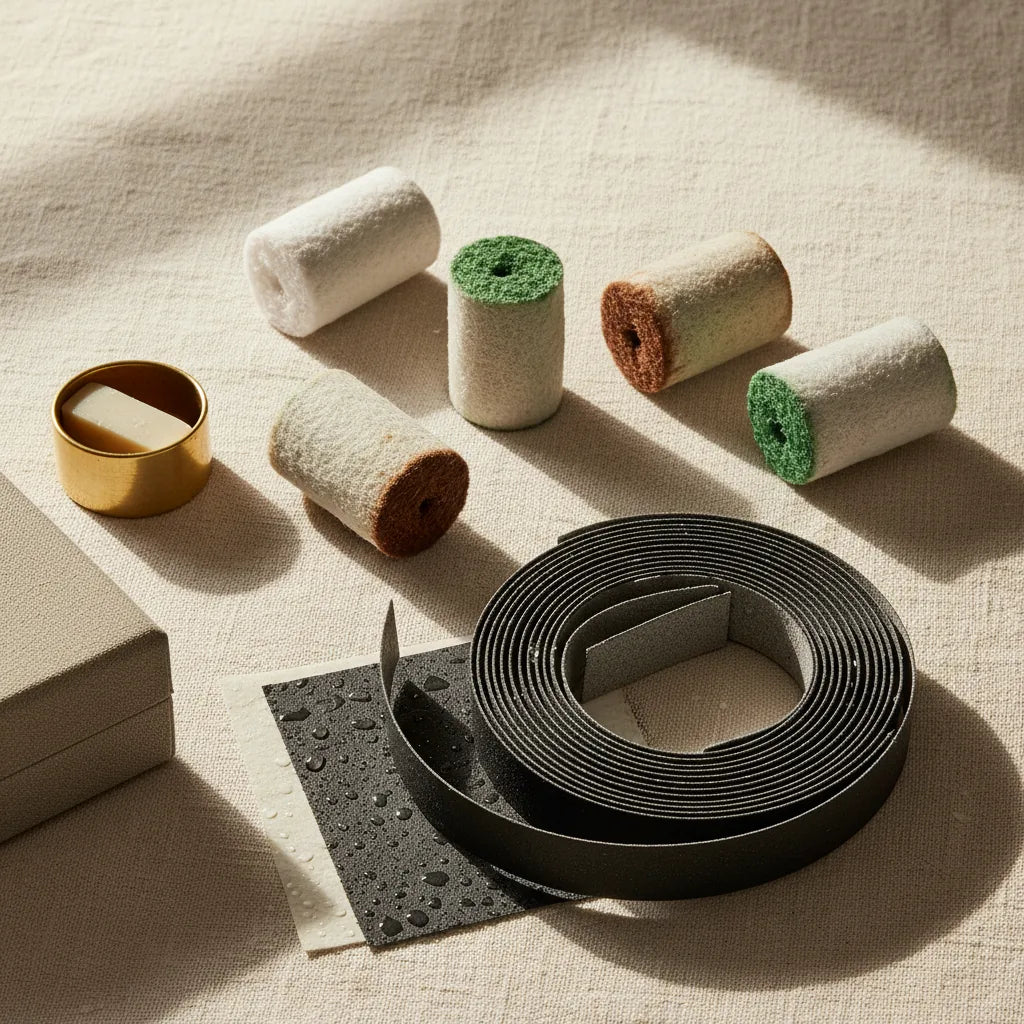
- Emery / wet-and-dry paper in steps: 400 → 600 → 800 → 1200 grit. Wrap it round a stick or a file for flat areas. At each grade, work until the previous grade's scratches are gone, then move finer. This is the stage beginners skip, and it's the most important one.
- Tripoli (or a "cut" compound) on a mop or felt buff to remove the fine emery lines and bring up a soft shine.
- Rouge (the final compound) on a separate, clean mop to bring the mirror finish.
If you jump from a file straight to rouge, you've skipped four stages of scratch removal. The result is exactly the "shiny but scratched" finish that frustrates everyone. The difference between the compounds — what cuts and what shines — is laid out in polishing compound: tripoli vs rouge.
The one rule that ruins finishes: cross-contamination
Never use the same mop or buff for two different compounds. A speck of coarse tripoli on your rouge mop will scratch the very finish you're trying to perfect. Keep them strictly separate — a dedicated buff per compound — and wash the piece between stages (warm water, a drop of washing-up liquid, a soft brush) so you don't carry coarse grit onto the next mop.
Label your buffs. Tripoli buff, rouge buff. Don't mix them, ever. This single habit separates a clean mirror finish from a frustrating cloudy one.
Polishing by hand: the methods
You don't need a big polishing machine to get a professional finish.
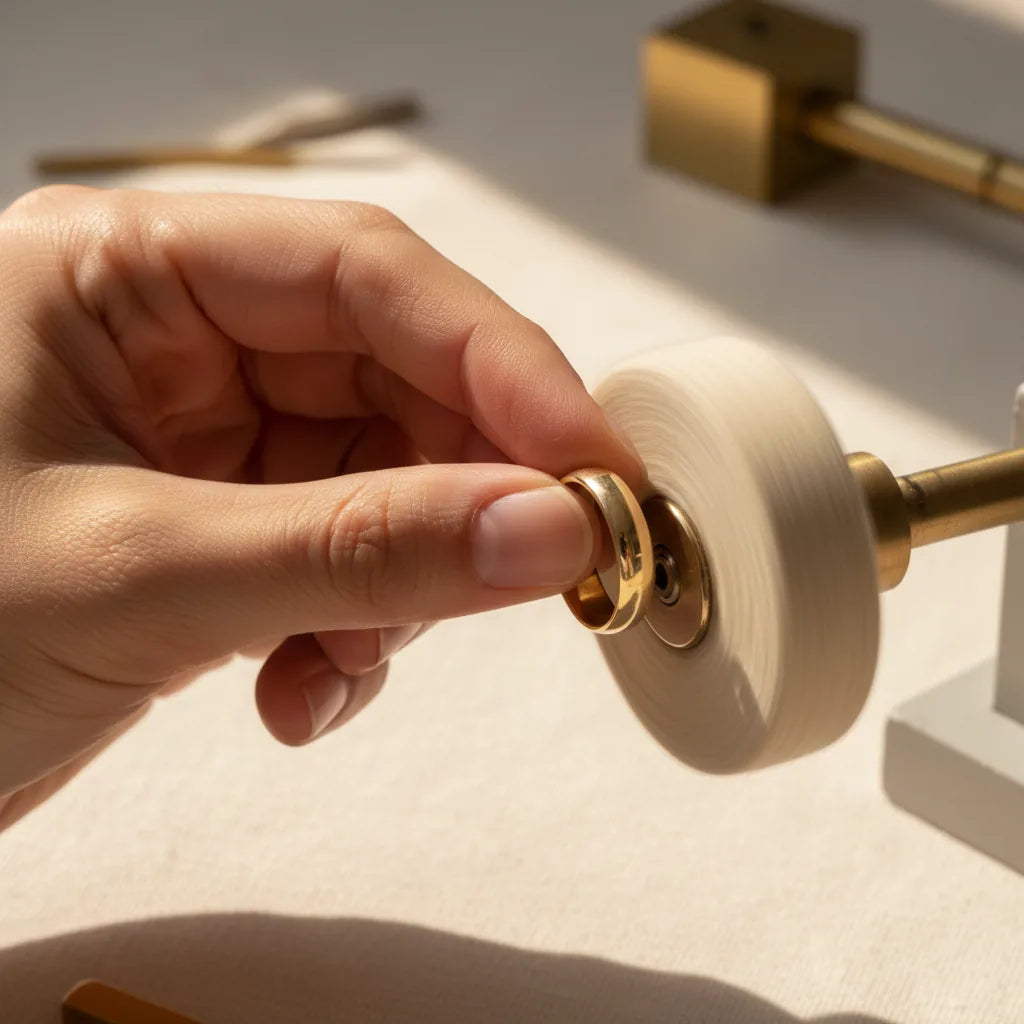
- Felt bobs and buffs on a pendant motor. Small felt mini-buffs and bobs chuck into the same rotary handpiece you use for burs. Load with a touch of compound and they reach into recesses a big mop can't — perfect for detailed and pierced work.
- Hand polishing with a cloth. Compound on a polishing cloth, or a proprietary polishing cloth for the final shine and upkeep. Slow, but total control and no risk of a buff grabbing the piece.
- A polishing "gizmo" / hand tool like the professional polishing gizmo helps with chains and fiddly items that catch on a spinning mop.
- Barrel tumbling (with steel shot) is a hands-off way to harden and brighten many pieces at once — a useful complement, though it gives a softer shine than hand-finishing to rouge.
Whichever method, the progression rule is the same: the surface must be scratch-free before the final compound.
Polishing a piece with a set stone
Once you've set a stone, polishing needs extra care:
- Keep compound away from the stone. Tripoli and rouge work into gaps and dull a stone or lodge under a bezel. Polish the metal before final-setting where you can; where you can't, mask the stone and clean meticulously after.
- Mind heat-sensitive stones. A fast mop generates heat — opal, turquoise and pearl don't tolerate it. Hand-polish around them.
- Clean thoroughly. Ultrasonic or a soft brush and warm soapy water to lift every trace of compound from around the setting.
Texture instead of shine
A mirror finish isn't the only option — and sometimes a textured or satin finish hides wear better and suits the piece. If you'd rather go matt, brushed or hammered than mirror, how to texture silver: 8 methods at the bench covers the alternatives, several of which replace the polishing stage entirely.
Frequently asked
Why is my jewellery still scratched after polishing?
Because polish only makes existing scratches shiny — it can't remove them. You skipped the abrasive stages. Work down through emery/wet-and-dry (400→600→800→1200) until the surface is scratch-free, then polish with tripoli and rouge.
What order do polishing compounds go in?
Coarse to fine: a cutting compound like tripoli first to remove fine abrasive lines, then rouge on a separate clean mop for the final mirror. Never the other way round, and never on the same buff.
Can I polish jewellery by hand without a machine?
Yes. Felt bobs in a pendant motor, a polishing cloth with compound, or a hand polishing tool all give an excellent finish. The machine speeds things up but the progression of grits is what creates the shine.
Why shouldn't I use the same buff for tripoli and rouge?
Coarse tripoli particles left on a rouge buff will scratch your final finish. Keep a dedicated, labelled buff for each compound and wash the piece between stages.
How do I polish around a set stone?
Keep compound away from the stone, avoid heat on soft or porous stones (opal, turquoise, pearl), polish the metal before final setting where possible, and clean thoroughly afterwards to remove trapped compound.
Where to go next
Buy a set of felt buffs and bobs, a strip of wet-and-dry in 400/600/800/1200, and separate tripoli and rouge. Practise on a filed scrap: take it all the way to a mirror, and you'll feel exactly how much of the work happens before the buff.
This closes the bench workflow that began with how to use a jeweller's saw and ran through filing, drilling and burs and bezel setting. Saw it, file it, drill it, set it, finish it — that's a finished piece.
— K.